Drawing flowers is one of the most rewarding ways to tap into your artistic side. Whether you’re new to drawing or want to refine your skills, learning how to draw flowers offers a perfect starting point. In this guide, we’ll walk you through the essentials of flower drawing, covering tools, techniques, and tips to help you create beautiful floral art. By the end, you’ll have the confidence to draw flowers with ease.
Why Drawing Flowers is a Great Starting Point
Flowers have a simple yet elegant structure, making them an ideal subject for beginners. The symmetry, flowing lines, and variety of shapes allow you to practice essential drawing techniques like shading, detailing, and proportion. Additionally, flowers are easy to find and observe, providing endless inspiration for your art.
Tools You Need to Draw a Flower

Before starting, ensure you have the right tools:
- Pencils: Start with a basic HB pencil for sketching and softer pencils like 2B or 4B for shading.
- Eraser: A kneaded eraser works well for lightening areas without damaging the paper.
- Paper: Use sketching paper with a medium texture to hold pencil lines and shading.
- Blending Stump: This tool helps in creating smooth transitions between shaded areas.
Understanding Basic Flower Anatomy
To draw a flower accurately, you should understand its basic parts:
- Petals: The colorful parts of the flower, often arranged symmetrically.
- Stem: The support structure that connects the flower to the ground.
- Leaves: The foliage attached to the stem, adding balance to the composition.
- Sepals: Small leaves located underneath the petals, protecting the bud.
Step 1: Sketch the Flower Shape
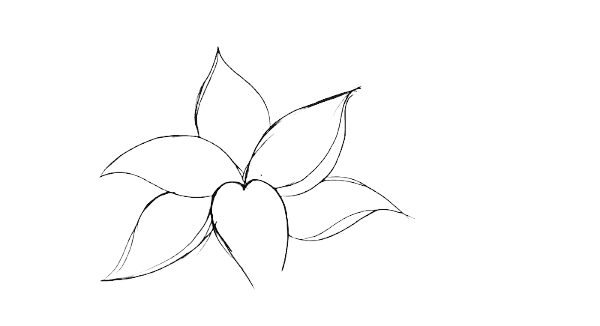
Begin by lightly sketching the overall shape of the flower. For most flowers, this will be a circular shape for the petals and a straight or curved line for the stem. Don’t worry about perfection at this stage; the goal is to map out the basic proportions.
- Tip: Use light, loose strokes to outline the shape, allowing room for adjustments later.
Step 2: Drawing the Petals
Next, focus on drawing the petals. Start from the center and work outward. Most flowers have multiple layers of petals, so begin with the innermost layer before moving to the outer petals. Pay attention to the overlapping lines as petals fold over each other.
- Tip: Vary the size of the petals slightly to give the drawing a more natural look.
Step 3: Adding the Stem and Leaves
Once the petals are drawn, move on to the stem. Draw a straight or slightly curved line extending downward from the base of the flower. Add leaves along the stem by sketching elongated, oval shapes.
- Tip: Make sure the leaves vary in size and angle to create a realistic composition.
Step 4: Creating Depth with Shading

Shading is where your flower drawing comes to life. Focus on the areas where the petals overlap to create shadows. Use a blending stump or your finger to soften the shading for a more realistic look.
- Tip: Keep the light source in mind while shading. Shadows will be darker on the opposite side of the light.
Step 5: Enhancing Details
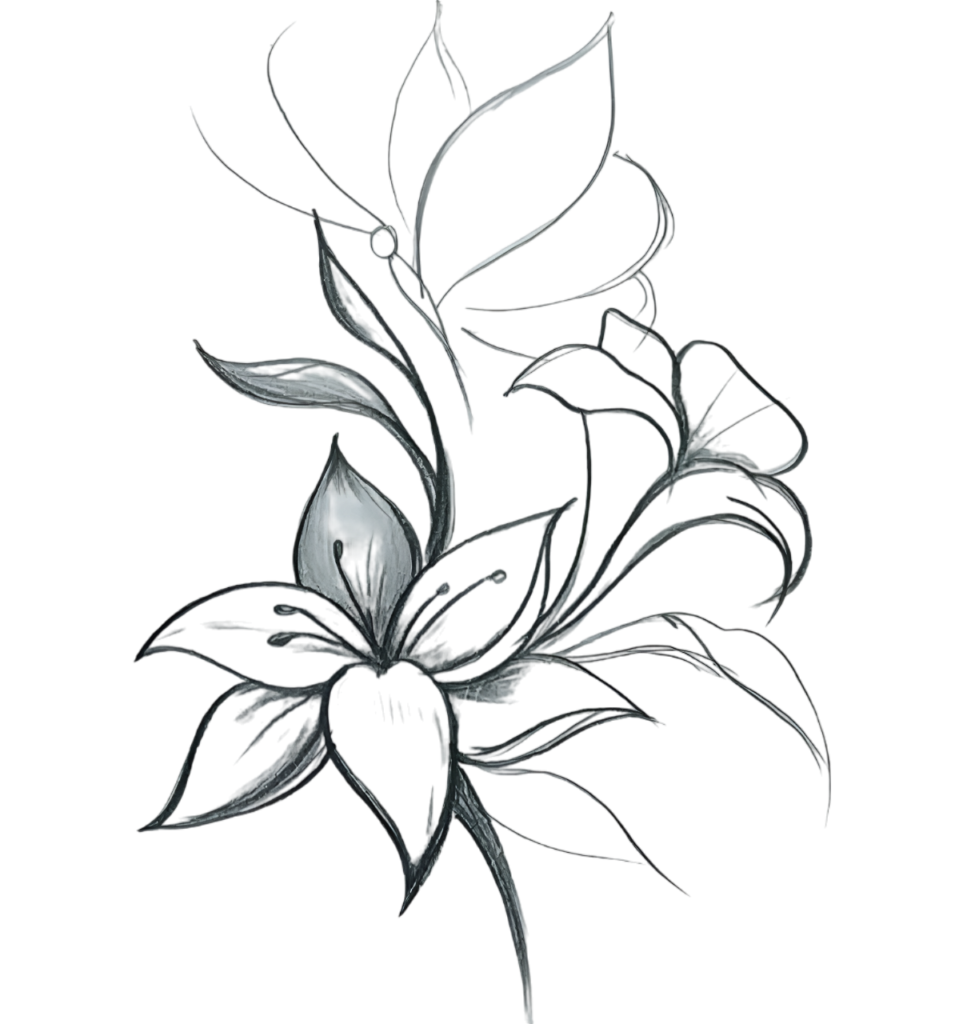
Now, refine your drawing by adding finer details. Look for small veins on the petals, textures on the leaves, and subtle color variations in the flower’s center. You can also darken some of the lines to create stronger contrasts.
- Tip: Don’t overdo it with details. Sometimes, less is more when drawing.
Different Types of Flowers to Practice Drawing
Once you’re comfortable with basic flower shapes, try drawing different types of flowers to diversify your skills:
- Roses: Known for their layers of delicate petals.
- Sunflowers: Characterized by their large, circular center and symmetrical petals.
- Tulips: Simple cup-shaped flowers, great for beginners.
- Daisies: With their radial symmetry, they’re fun and easy to draw.
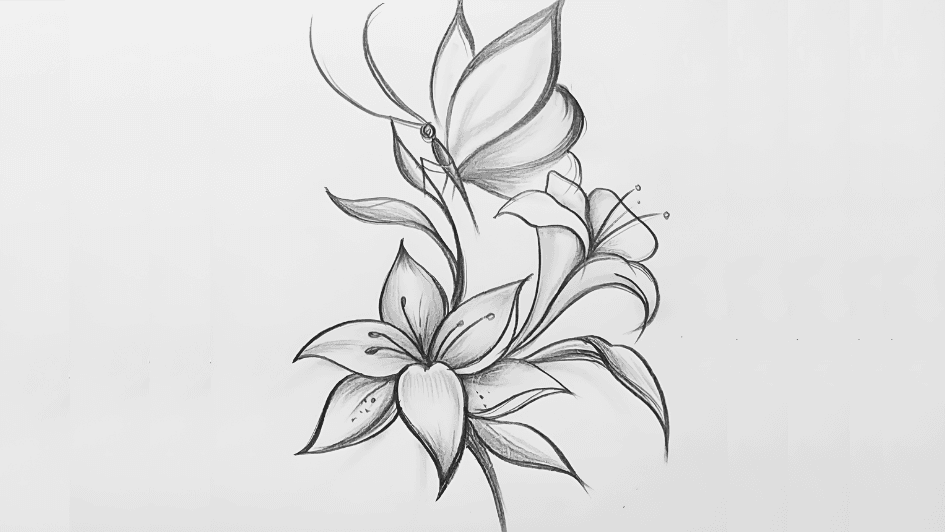
- Lilies: Their elongated petals create a more complex structure.
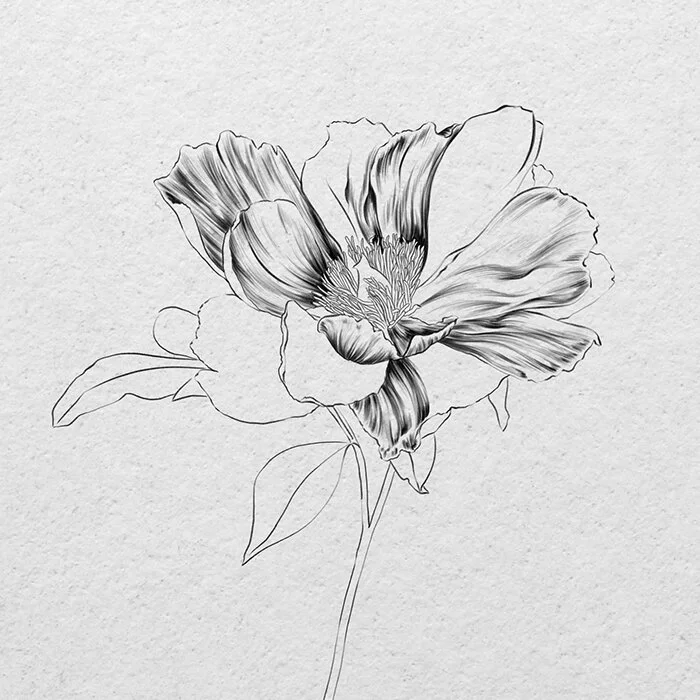
How to Draw Realistic Flowers
To draw realistic flowers, focus on the finer details. Study real flowers closely or use reference photos to understand their intricate structure. Realism comes from paying attention to subtle curves, variations in petal size, and the play of light and shadow.
Common Mistakes Beginners Make
- Overcomplicating the Sketch: Start simple, especially when learning.
- Skipping the Outline: Drawing without a basic outline can make your flower look uneven.
- Inconsistent Shading: Shading randomly without considering the light source can make the drawing look flat.
Tips for Improving Your Flower Drawing
- Practice Daily: The more you practice, the better you’ll get.
- Use References: Draw from real-life flowers or high-quality photos.
- Experiment with Styles: Try drawing both realistic and abstract flowers to expand your skills.
Inspiration from Famous Flower Artists
Many famous artists have focused on flowers in their work. For inspiration, check out the floral paintings of:
- Georgia O’Keeffe: Known for her large-scale, close-up views of flowers.
- Claude Monet: His water lilies series captures the beauty of flowers in nature.
- Vincent van Gogh: Van Gogh’s sunflower paintings show his bold, expressive style.
FAQs
Conclusion
Drawing flowers is an enjoyable and fulfilling way to improve your artistic skills. With practice, patience, and a little creativity, you can master the art of flower drawing. Remember, the key is consistency—keep sketching different types of flowers, and over time, your drawings will become more refined. Now that you have the basics, it’s time to pick up your pencil and start drawing!