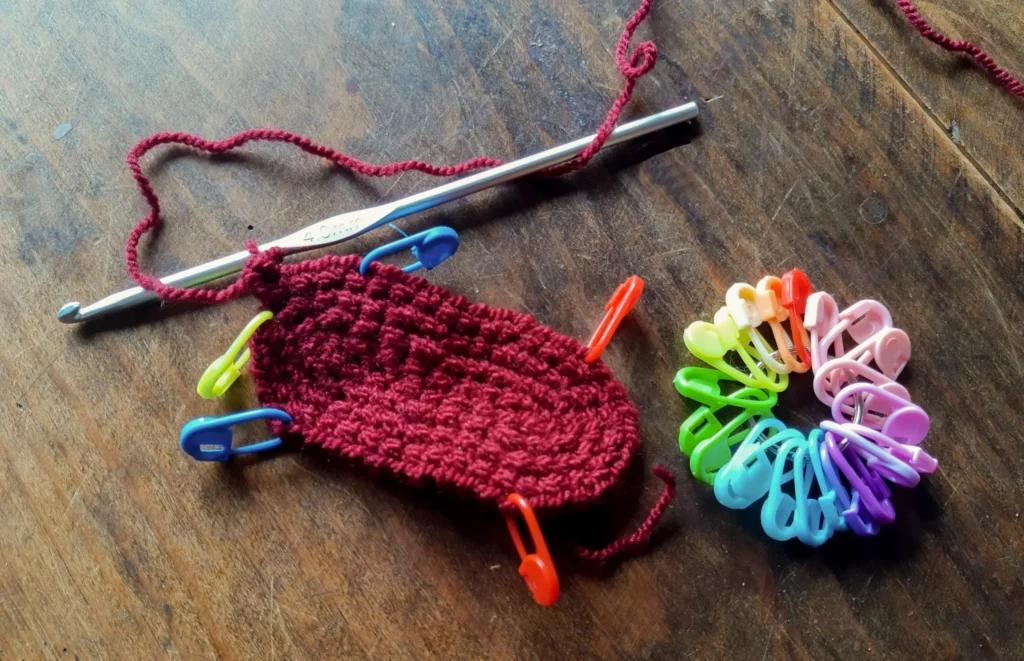
Stitch markers are small tools that help knitters keep track of their stitches, rows, and patterns. They can be made from various materials, such as metal, plastic, or yarn. However, if you want to add some sparkle and personality to your knitting projects, you can make your own markers with beading wire and beads. In this blog, you will learn the hack how to make them in a few simple steps.
To make stitch markers for knitting with beading wire, you will need the following items:
Beading wire: This is a thin, flexible wire that is used for making jewelry. You can find it in different colors and thicknesses at craft stores or online. For this project, you will need about 6 inches of beading wire for each marker.
Beads: You can use any beads that you like, as long as they have holes that are large enough to fit the beading wire. You can choose beads that match your yarn, contrast with it, or create a rainbow effect. You can also use different shapes and sizes of beads to make your stitch markers more interesting.
Wire cutters: You will need a pair of wire cutters to cut the beading wire to the desired length and to trim any excess wire.
Round nose pliers: You will need a pair of round nose pliers to bend the beading wire into loops and to close them securely.
Optional: You can also use other tools or embellishments to make it more unique, such as crimp beads, jump rings, charms, or tassels.
How to Make Stitch Markers for Knitting with Beading Wire
Once you have gathered all the materials, you can start making for knitting with beading wire. Here are the steps to follow:
- Cut a piece of beading wire about 6 inches long with your wire cutters. You can adjust the length depending on the size of your beads and how large you want your stitch markers to be.
- Thread one end of the beading wire through the hole of a bead and slide it to the middle of the wire. This will be the center bead of your stitch marker.
- Thread more beads onto both ends of the wire, leaving about half an inch of wire free at each end. You can use as many or as few beads as you like, but make sure that the beads are symmetrical on both sides of the center bead.
- Bend both ends of the wire into small loops using your round nose pliers. The loops should be facing the same direction and should be large enough to fit over your knitting needles.
- Twist the ends of the wire around the base of the loops to secure them. Trim any excess wire with your wire cutters.
- Repeat the steps above to make more stitch markers with beading wire. You can make as many as you need or want, and you can vary the colors and designs of your beads.
Tips and Tricks
Here are some tips and tricks to help you make stitch markers for knitting with beading wire:
If you want to make your markers more durable, you can use crimp beads to secure the ends of the wire. Crimp beads are small metal beads that can be squeezed with pliers to flatten them and hold the wire in place. To use them, thread a crimp bead onto each end of the wire before making the loops, and then crimp them with your pliers after twisting the wire.
You can use jump rings to connect the loops of the wire. Jump rings are small metal rings that can be opened and closed with pliers. To use them, open a jump ring with your pliers, thread it through the loop of the wire, and then close it with your pliers. This way, you can easily attach or detach your stitch markers from your knitting needles or from each other.
You can add charms, tassels, or other embellishments to the loops of the wire. You can use any items that you like, as long as they are lightweight and do not interfere with your knitting. To attach them, you can use jump rings, crimp beads, or wire.
