Creating a pumpkin with pipe cleaners is a fun and easy craft project that you can do with a few simple materials. With just some orange and green pipe cleaners, you can make a cute pumpkin decoration perfect for fall! Here’s how to make one step by step:
Materials You’ll Need:
- Orange pipe cleaners (for the pumpkin body)
- Green pipe cleaners (for the stem and leaves)
- A pen or pencil (for shaping the pumpkin)
- Scissors (to trim the ends)
Step-by-Step Instructions:
Step 1: Create the Pumpkin Shape
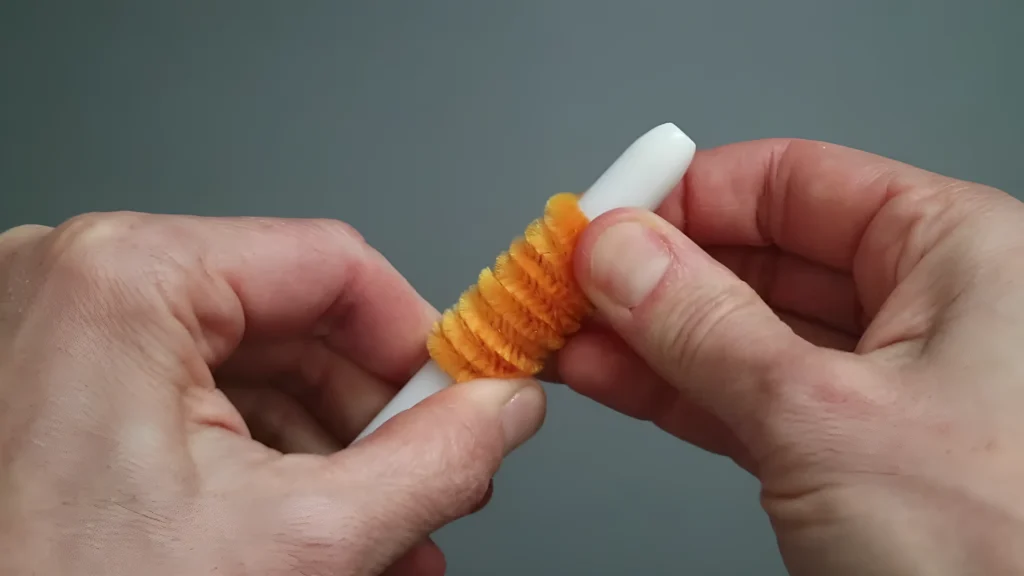
Start by grabbing your orange pipe cleaners. Take a pen or pencil and wrap the pipe cleaner around it to form a coil. This will be the base shape of your pumpkin. Repeat this process to create three similar shapes, which will form the body of your pumpkin.
Step 2: Attach the Orange Pipe Cleaners Together
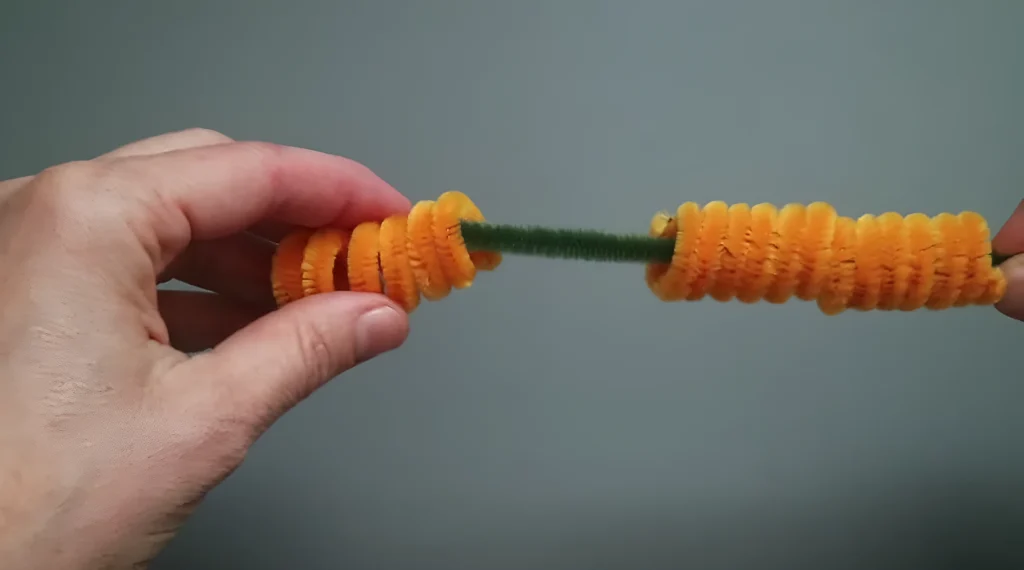
Next, take a green pipe cleaner and lay it down flat. Now, take your three orange pipe cleaners and thread them onto the green pipe cleaner, just like you would add beads onto a wire. This step will hold the three orange pieces together and create the pumpkin’s circular shape.
Step 3: Secure the Green Pipe Cleaner
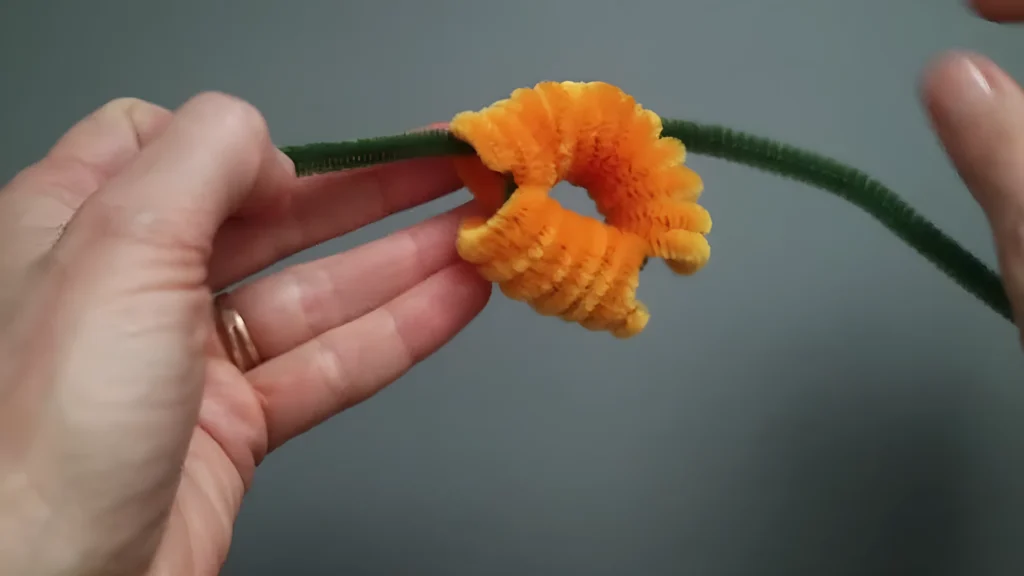
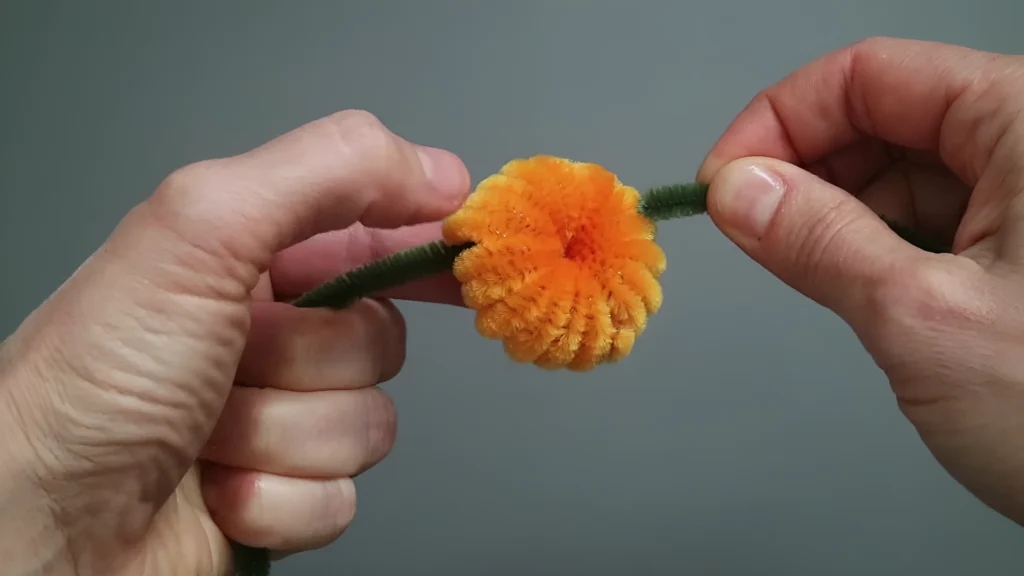
Once you’ve added all three orange pipe cleaners to the green one, take one side of the green pipe cleaner and carefully tie a knot to secure the pipe cleaners together. Then, tie a knot with the other end of the green pipe cleaner, so that the three orange pieces stay tightly connected.
Step 4: Braid the Green Pipe Cleaner

Take both ends of the green pipe cleaner and start braiding them together. To do this, simply twist the ends of the green pipe cleaner in a way that resembles the motion of screwing in a screw with a screwdriver. This braided portion will form the pumpkin’s stem.
Step 5: Trim and Twist the Green Pipe Cleaner
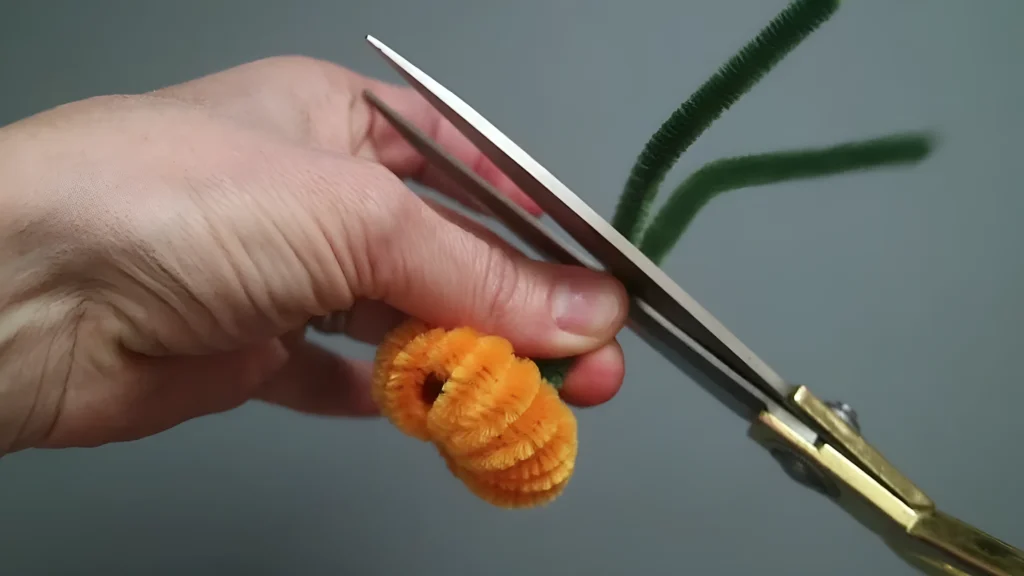

Once you’ve finished braiding, cut the excess green pipe cleaner so that it’s a manageable length. With the remaining braided part, twist it inward to create the pumpkin’s stem. This will add a natural-looking finish to your pumpkin!
Step 6: Final Touches
Now that your pumpkin shape is complete, you can adjust and fluff the orange pipe cleaners a little to give your pumpkin more volume and texture. You can also bend the stem to the desired angle to give your pumpkin a more lifelike look.
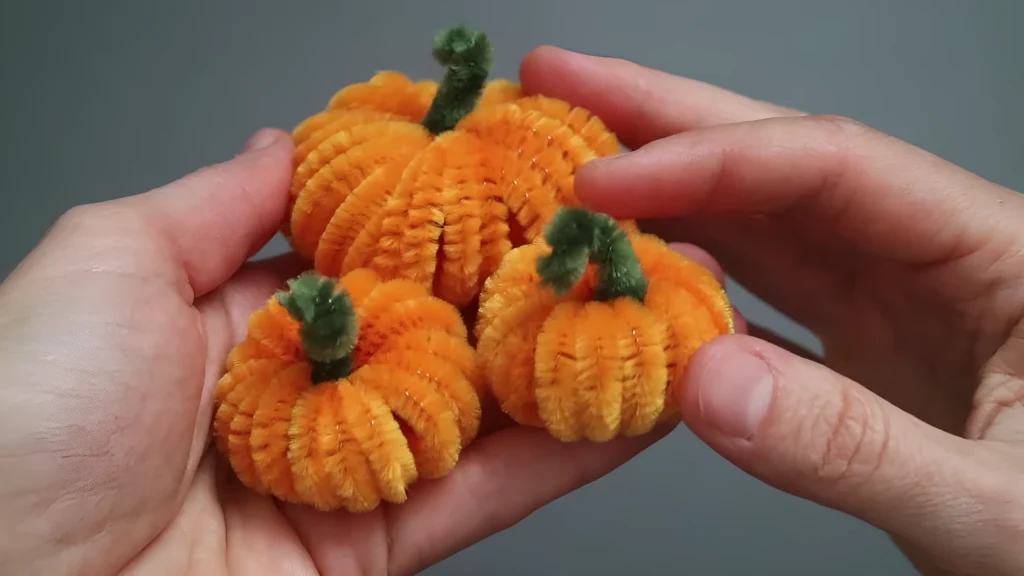
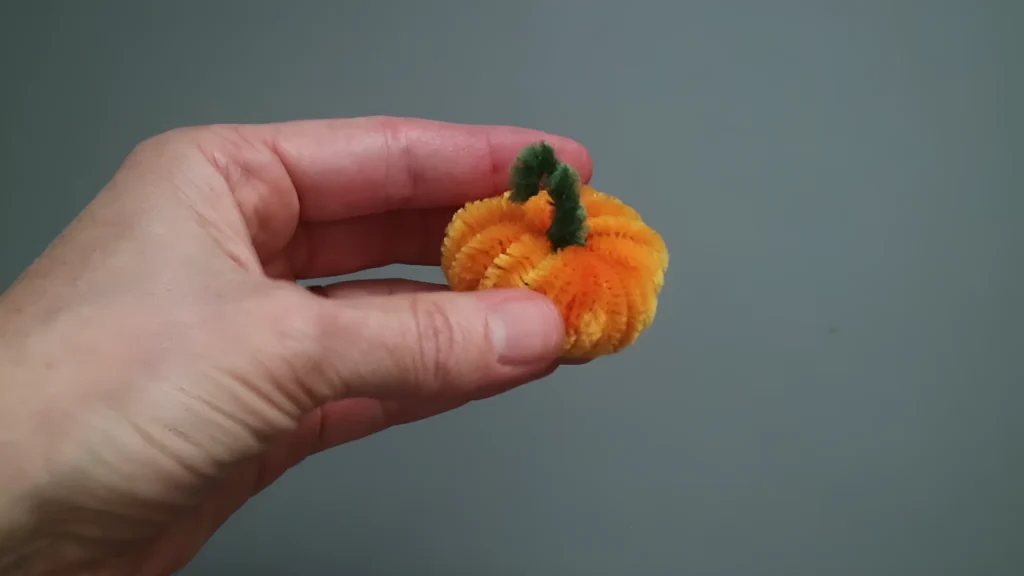
The Final Result
After following these simple steps, you should have a beautiful pumpkin made entirely out of pipe cleaners. You can make multiple pumpkins in different sizes, or even add leaves by twisting a few green pipe cleaners around the stem. Display them as a fun fall decoration or use them as part of a larger craft project!
Enjoy your pipe cleaner pumpkin creations, and get creative with other colors and designs!