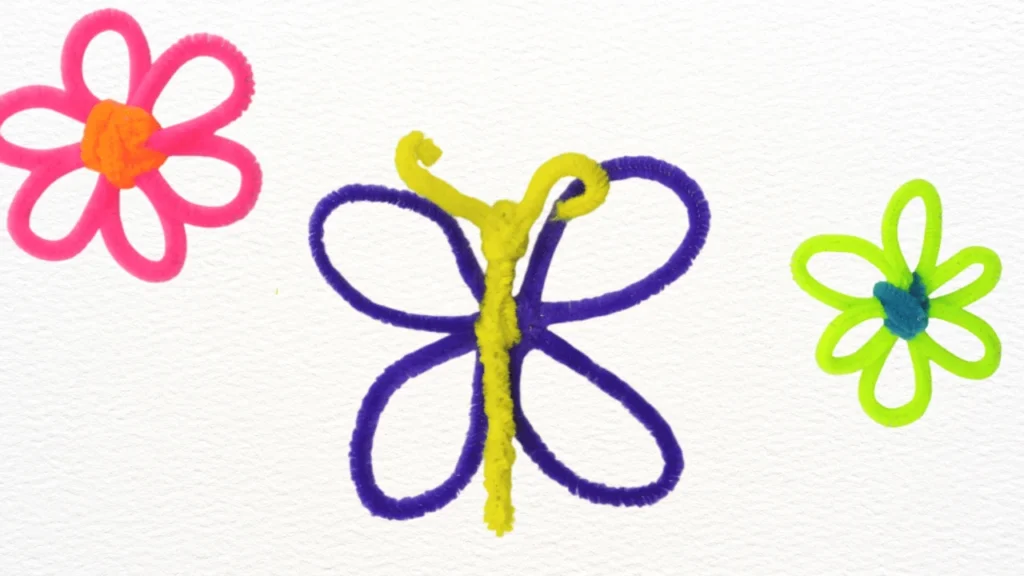
Pipe cleaner crafts are a fun, affordable, and creative activity that children and adults alike can enjoy. Among the many delightful designs, pipe cleaner butterflies stand out for their vibrant colors and simple creation process. Whether you’re looking for a weekend craft project or an educational activity, making a pipe cleaner butterfly is the perfect choice. This guide will walk you through every step to craft your very own butterfly masterpiece.
Materials Needed
Before diving into the crafting process, gather these simple materials:
- Multi-Color Pack of Pipe Cleaners
- Scissors
Optional: Use a crafting mat to protect surfaces while working.
Step-by-Step Instructions
Step 1: Prepare Your Pipe Cleaners

Take two pipe cleaners of the same color. Twist one set of ends together to secure them. This will serve as the base for your butterfly wings.
Step 2: Straighten and Flatten the Base
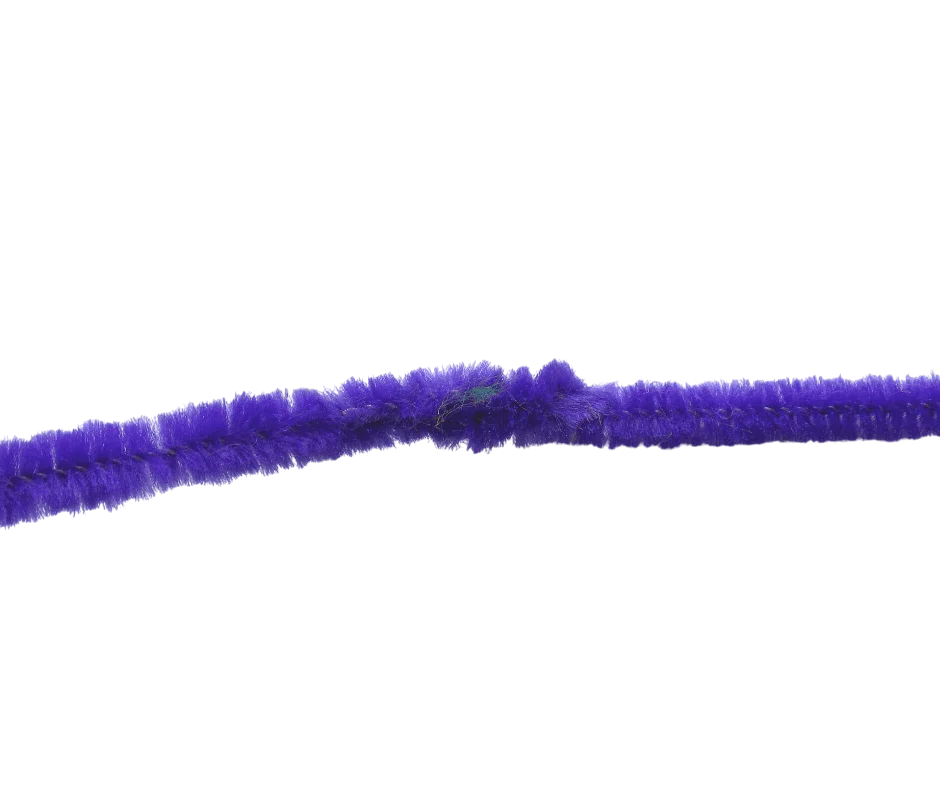
Straighten the two joined pipe cleaners into one line. Flatten the twisted joint so that it’s flush with the pipe cleaner line, ensuring a smooth surface.
Step 3: Create the First Wing Loop
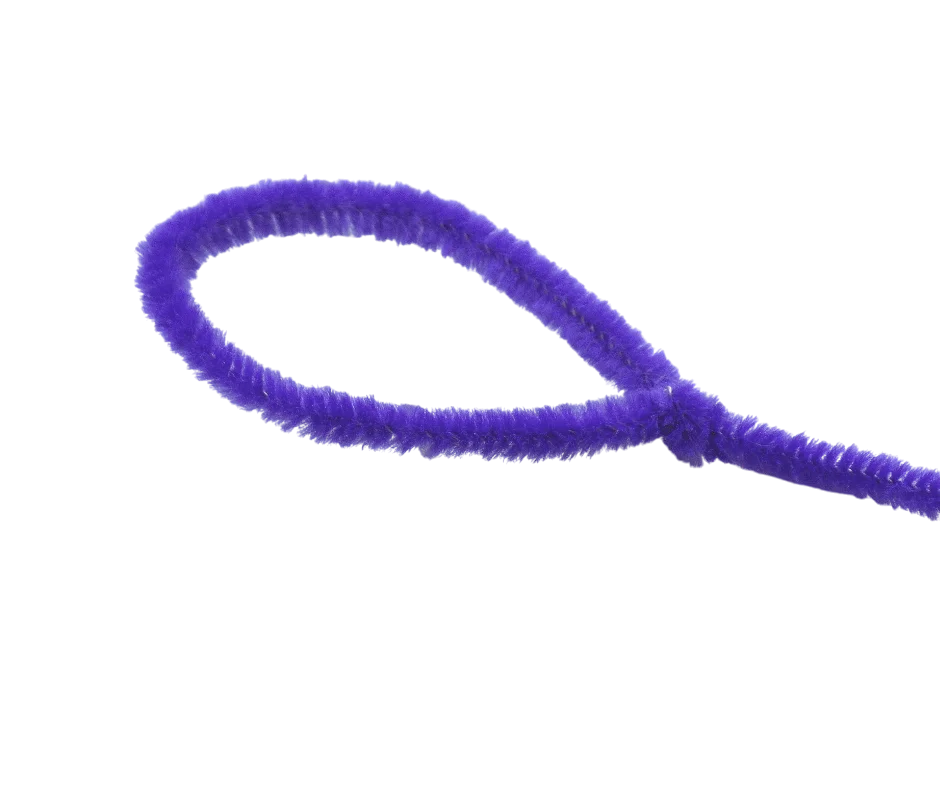
At one end of the joined pipe cleaners, form a loop and twist it once to secure. This loop will become one side of your butterfly’s wing.
Step 4: Add a Second Wing Loop
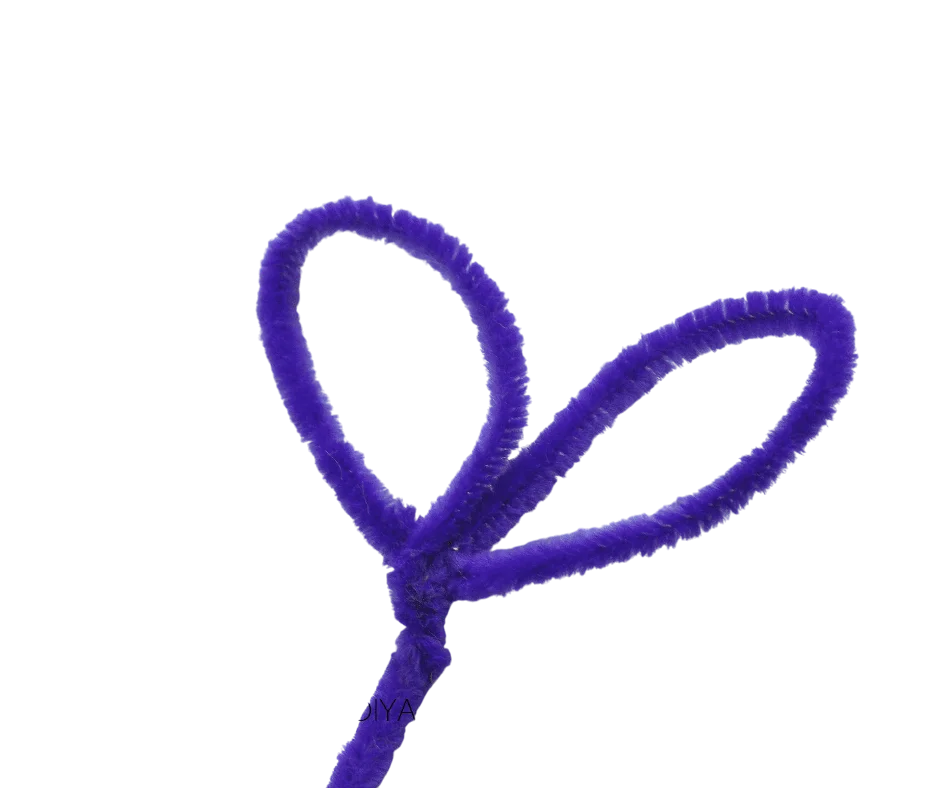
Next to the first loop, form a second loop. Twist it once to secure, creating the first complete wing for your butterfly.
Step 5: Repeat for the Second Wing
Repeat the process to form two more loops on the other side. These loops will become the second wing of your butterfly. Wrap any excess pipe cleaner around the center to secure the wings in place.
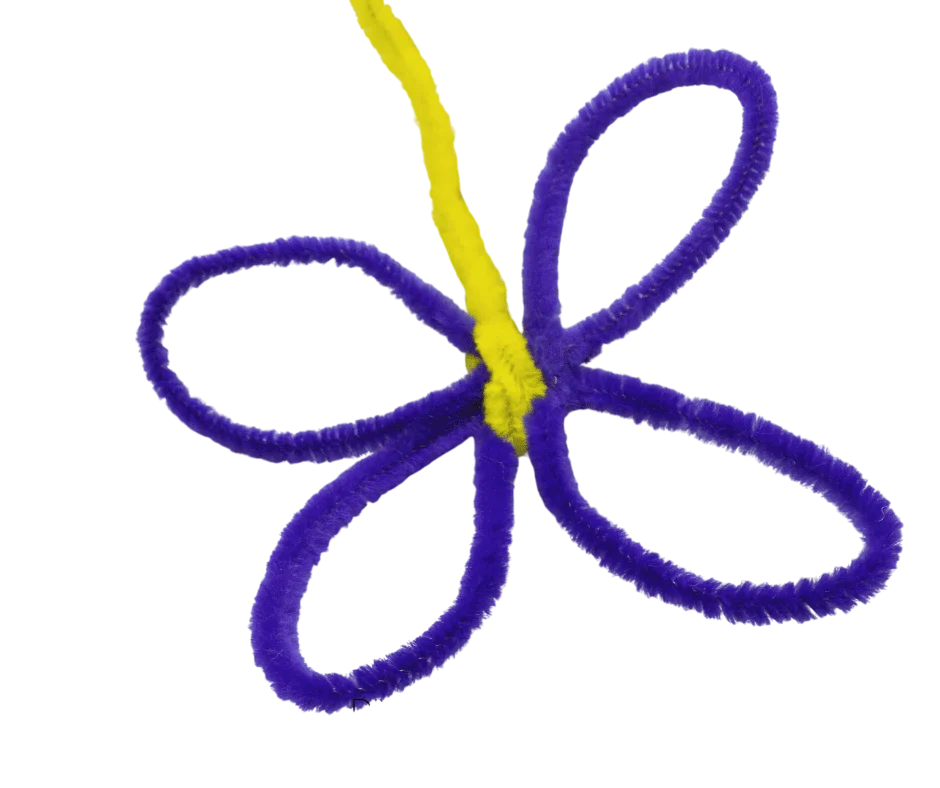
Step 6: Add the Butterfly Body
Take a single pipe cleaner in a contrasting color and wrap it tightly around the center of the wings 2-3 times. This will form the butterfly’s body.
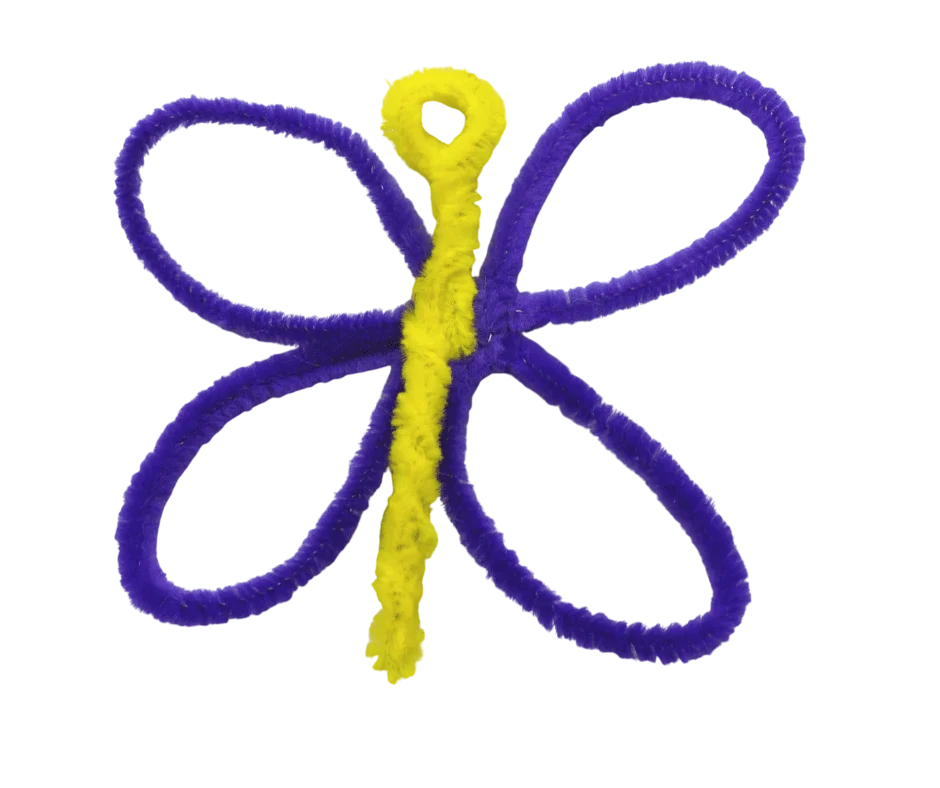
Step 7: Shape the Body
Fold the body pipe cleaner in on itself and twist it together to form a sturdy shape. Leave a small loop at the top to attach the antennae later.
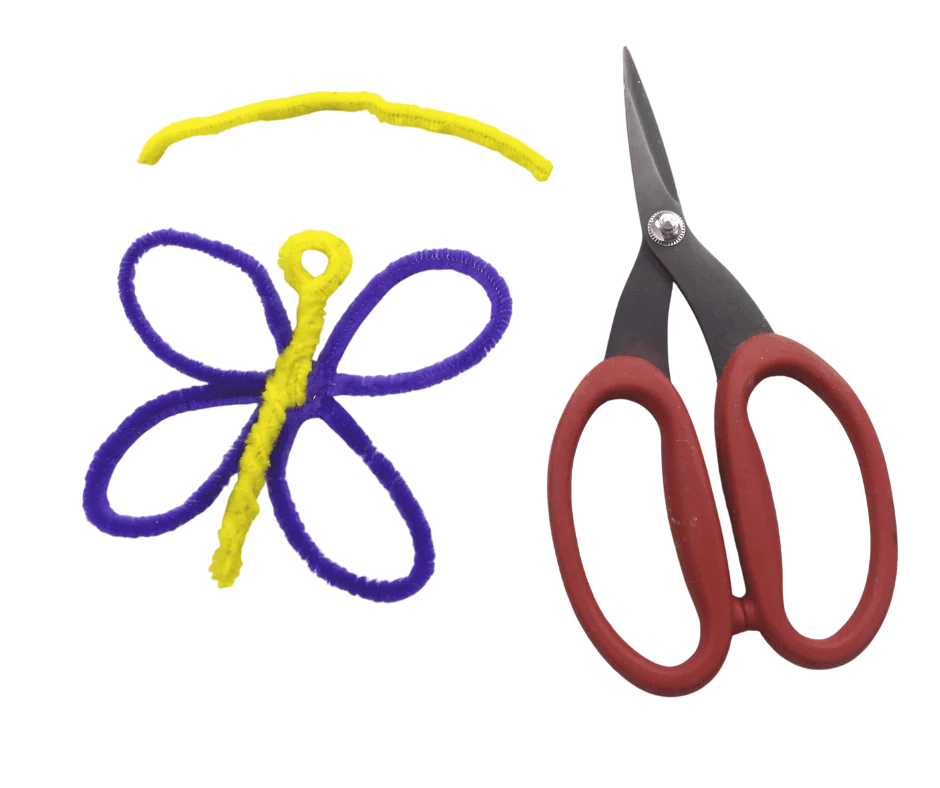
Step 8: Cut the Antennae
Cut a small piece of pipe cleaner in the same color as the body. This piece will be used to create the butterfly’s antennae.
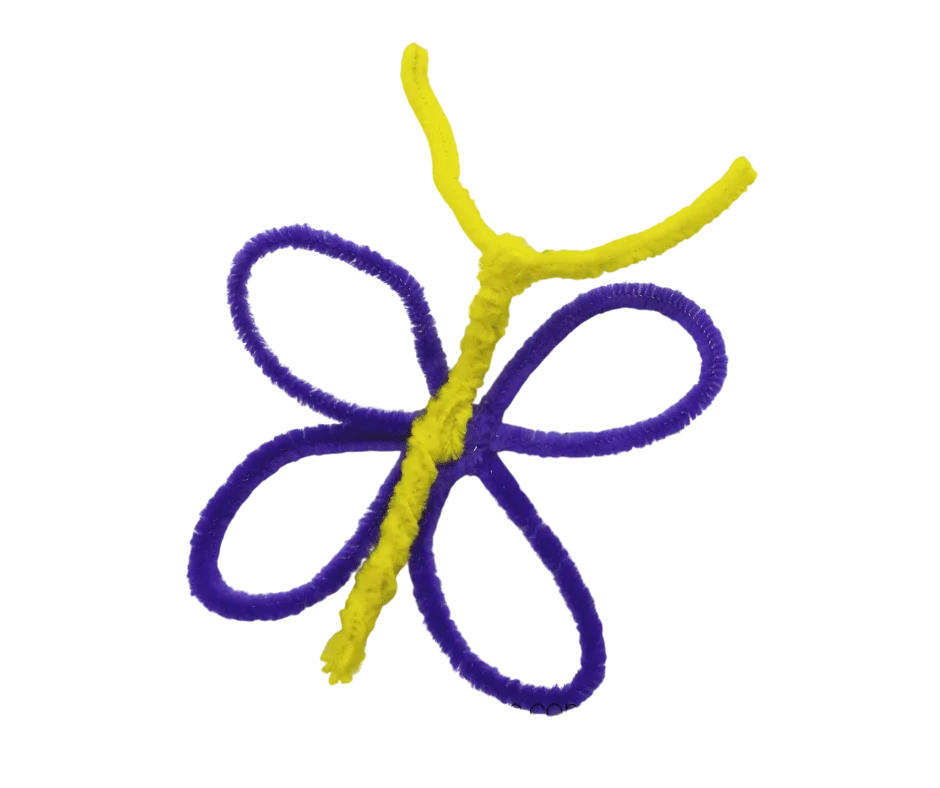
Step 9: Attach the Antennae
Thread the small pipe cleaner through the loop at the top of the butterfly body. Twist the loop to secure it, ensuring the antennae stay in place.
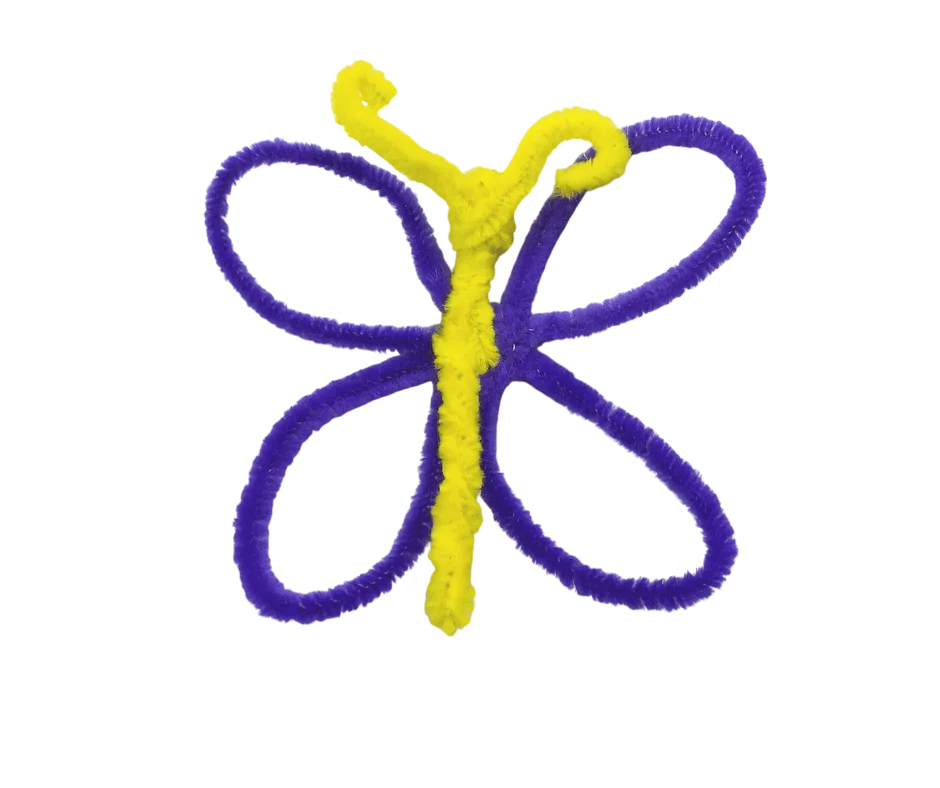
Step 10: Curl the Antennae Ends

Finally, curl the ends of the antennae to give them a whimsical, butterfly-like appearance. Your pipe cleaner butterfly is now complete!
Tips for Success
- Safety First: If children are crafting, supervise them while using scissors. Plastic safety scissors may not cut pipe cleaners effectively, so adults might need to assist.
- Experiment with Colors: Mix and match different colors for the wings and body to create unique butterfly designs.
- Add Decorations: Use small beads or glitter glue to decorate your butterfly for added flair.
Why Make Pipe Cleaner Butterflies?
Pipe cleaner butterflies are more than just a fun craft. They also offer several benefits:
- Encourages Creativity: Kids can experiment with colors and shapes to design their own unique butterflies.
- Develops Fine Motor Skills: Twisting and shaping pipe cleaners improves hand-eye coordination and dexterity.
- Affordable Fun: The materials are inexpensive, making this craft accessible for everyone.
Conclusion
Making a pipe cleaner butterfly craft is a delightful and straightforward activity that offers endless possibilities for customization. Whether you’re crafting with kids, decorating for a party, or simply exploring your creativity, this project is sure to bring joy and color to your day. Gather your materials, follow the steps, and let your imagination take flight. Don’t forget to share your creations with friends and family—they’ll be amazed at your crafting skills!