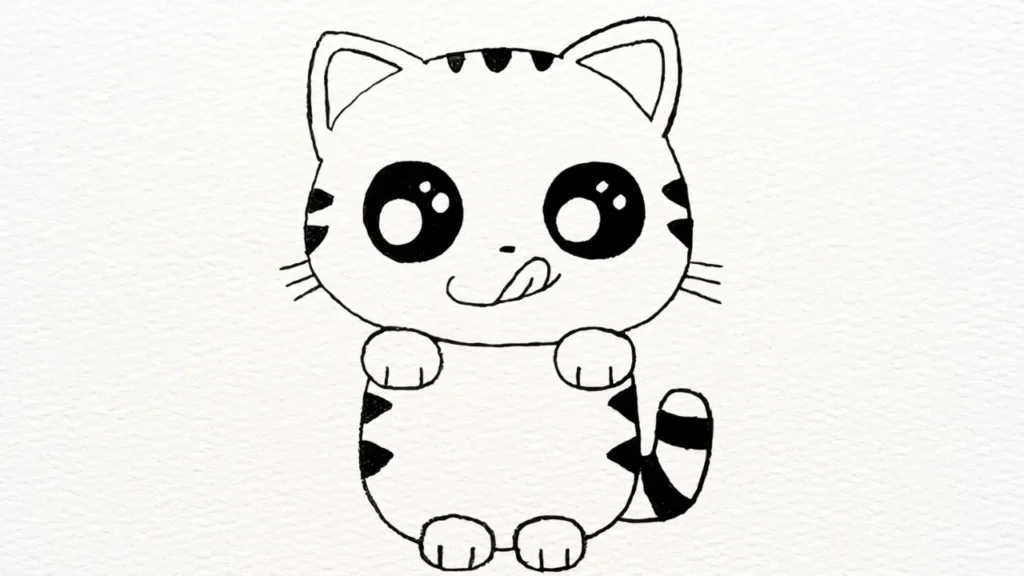
Drawing is a wonderful way to express creativity, and learning to draw a cat can be both fun and rewarding. Whether you’re an aspiring artist or just someone looking for a creative outlet, this guide will walk you through the steps of sketching a cat from start to finish. In this tutorial, we’ll focus on simple techniques to help you master the process while adding your own unique flair.
Introduction
Drawing a cat may seem daunting at first, but with the right steps, anyone can do it! This guide breaks the process into easy, manageable parts, ensuring you can follow along no matter your skill level. By the end of this tutorial, you’ll have a sketch of a cute cat and the confidence to try drawing other animals.
Tools You’ll Need
Before we begin, gather the following tools:
- A pencil (preferably HB or 2B for light sketching)
- An eraser
- Drawing paper
- Fine-tip black pen or marker (optional, for outlining)
Understanding the Cat’s Anatomy
Before sketching, it’s essential to understand the basic anatomy of a cat. Cats have a rounded head, triangular ears, large expressive eyes, and a sleek, flexible body. Observing reference images can help you grasp their proportions and unique features.
Step 1: Drawing the Basic Outline
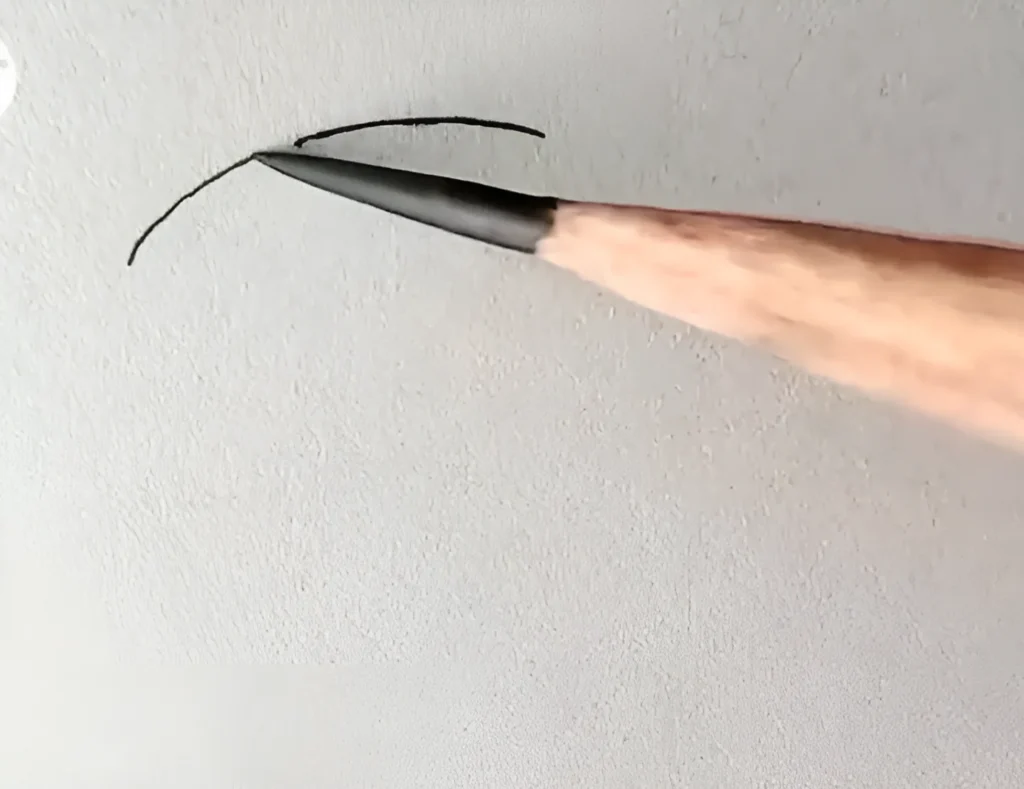
Start by sketching two curved lines to form the foundational shape of the cat’s head. Think of these as a loose oval or slightly rounded rectangle. These basic shapes help set the stage for the details later.
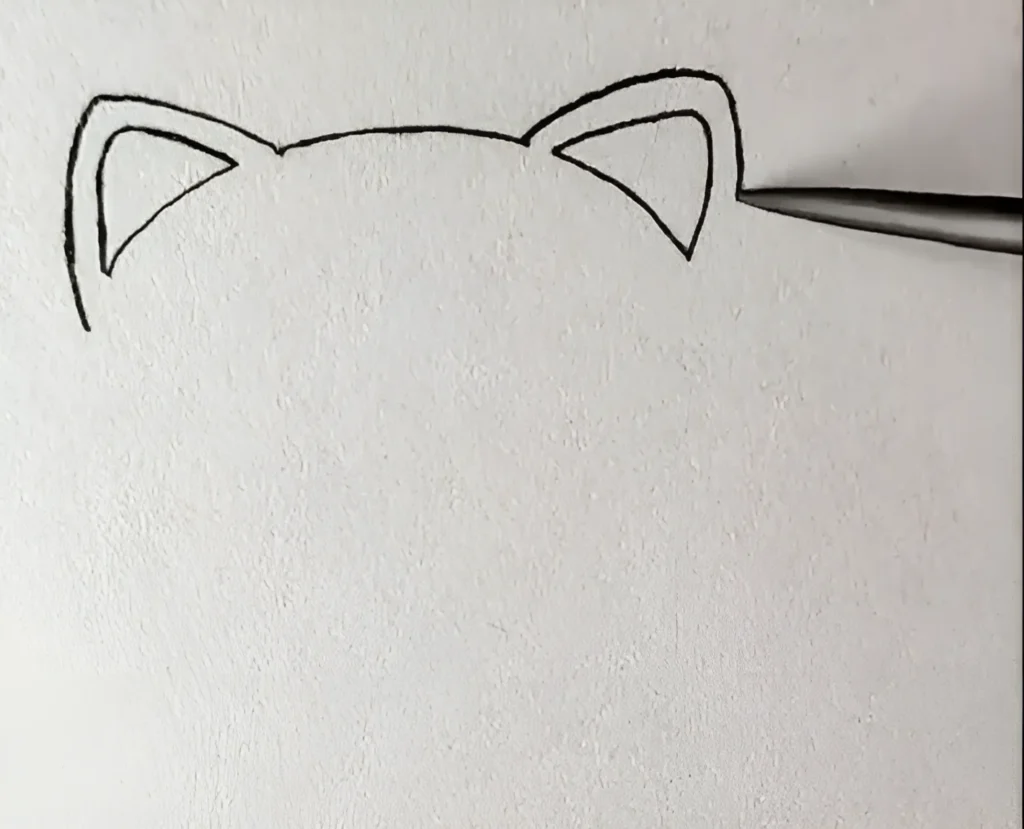
Step 2: Adding the Ears
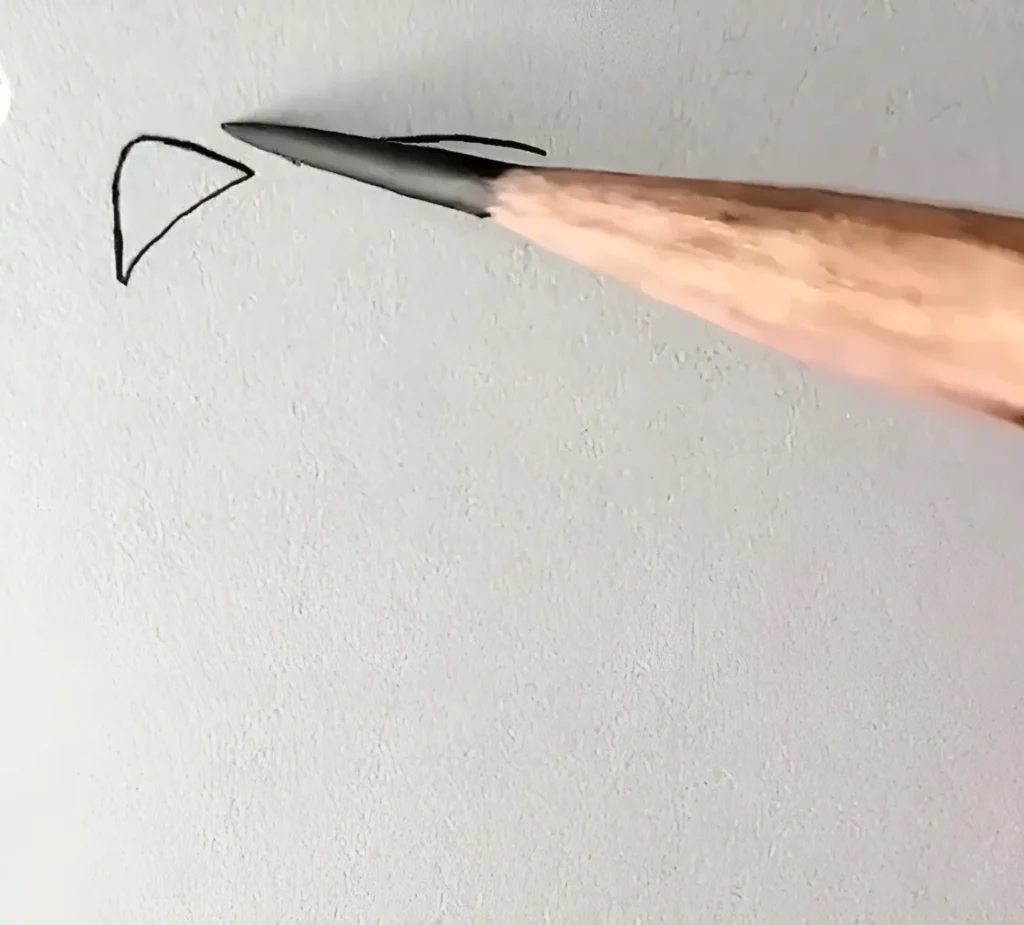
On top of the head, draw two triangular shapes to represent the ears. Ensure they’re symmetrical and slightly curved to give a natural look. Keep your lines light and adjustable at this stage.
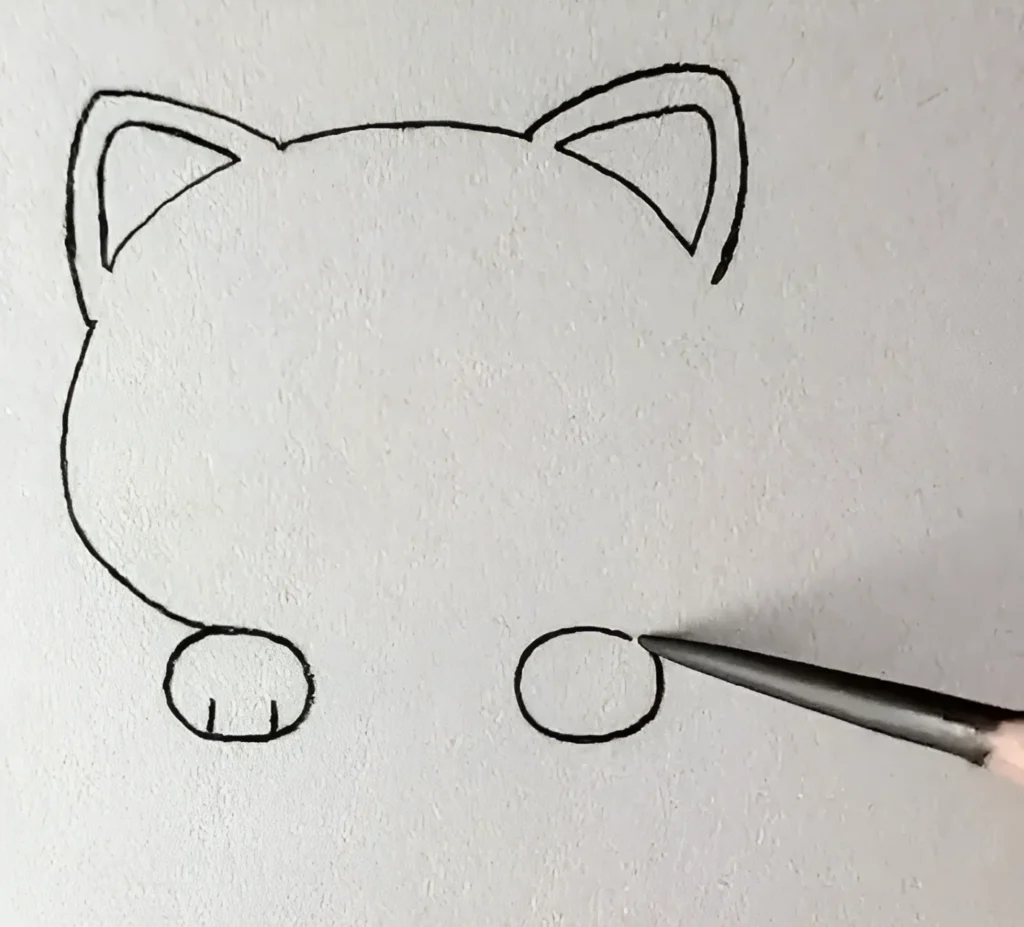
Step 3: Drawing the Front Paws
Extend two curved lines downward from the head to form the arms. At the end of each arm, sketch small ovals or rounded rectangles for the paws. Add a few short lines on the paws to create the illusion of toes.
Step 4: Shaping the Body
Below the head, draw an oval or rounded rectangle to form the body. The body should be slightly larger than the head, extending downward to create a balanced shape.
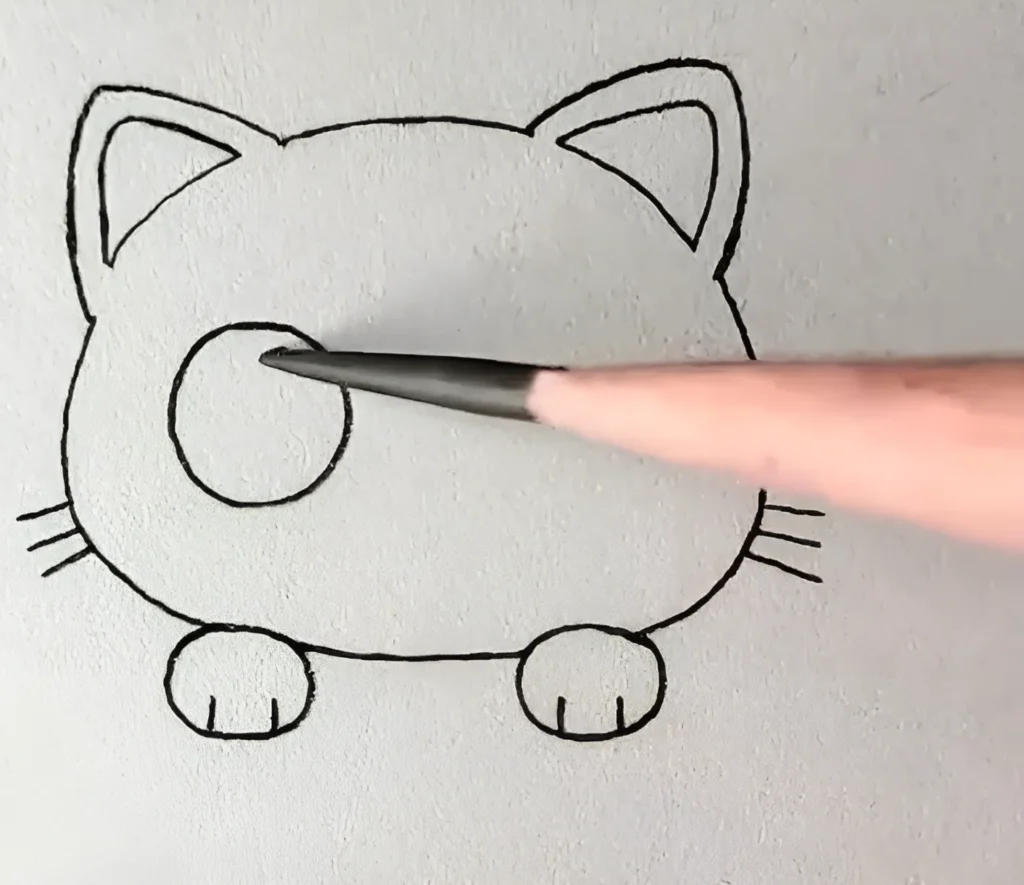
Step 5: Adding Fur Details to the Face

To add personality to your cat, sketch short, gentle lines around the face to mimic fur. Start from the center of the face and fan the lines outward. Vary the length and direction of the lines for a natural effect.
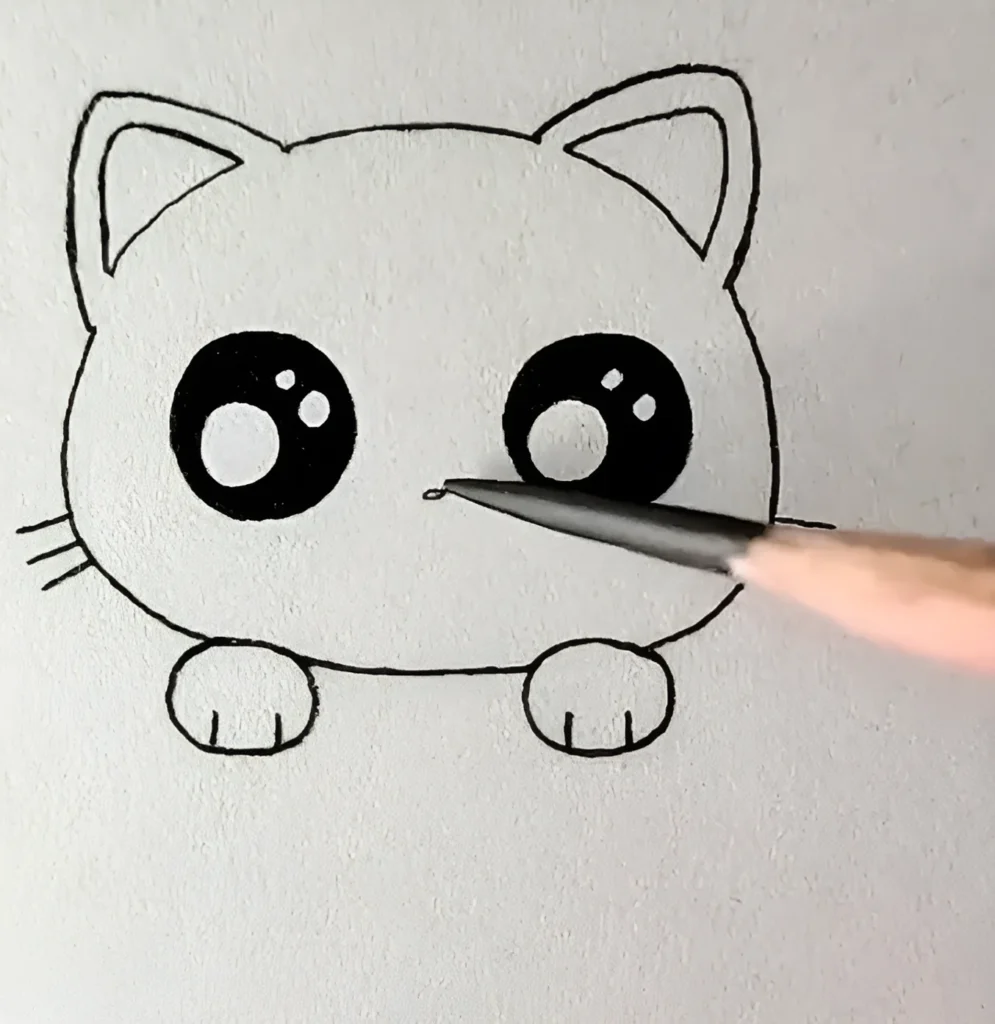
Step 6: Sketching the Eyes
- Placement: Position the eyes slightly above the center of the head.
- Shape: Draw two large ovals or circles for the eyes.
- Pupils: Inside each eye, sketch a vertical slit for the pupil.
- Details: Add a small circle or dot near the top of the pupil to indicate light reflection.
Step 7: Drawing the Nose and Mouth
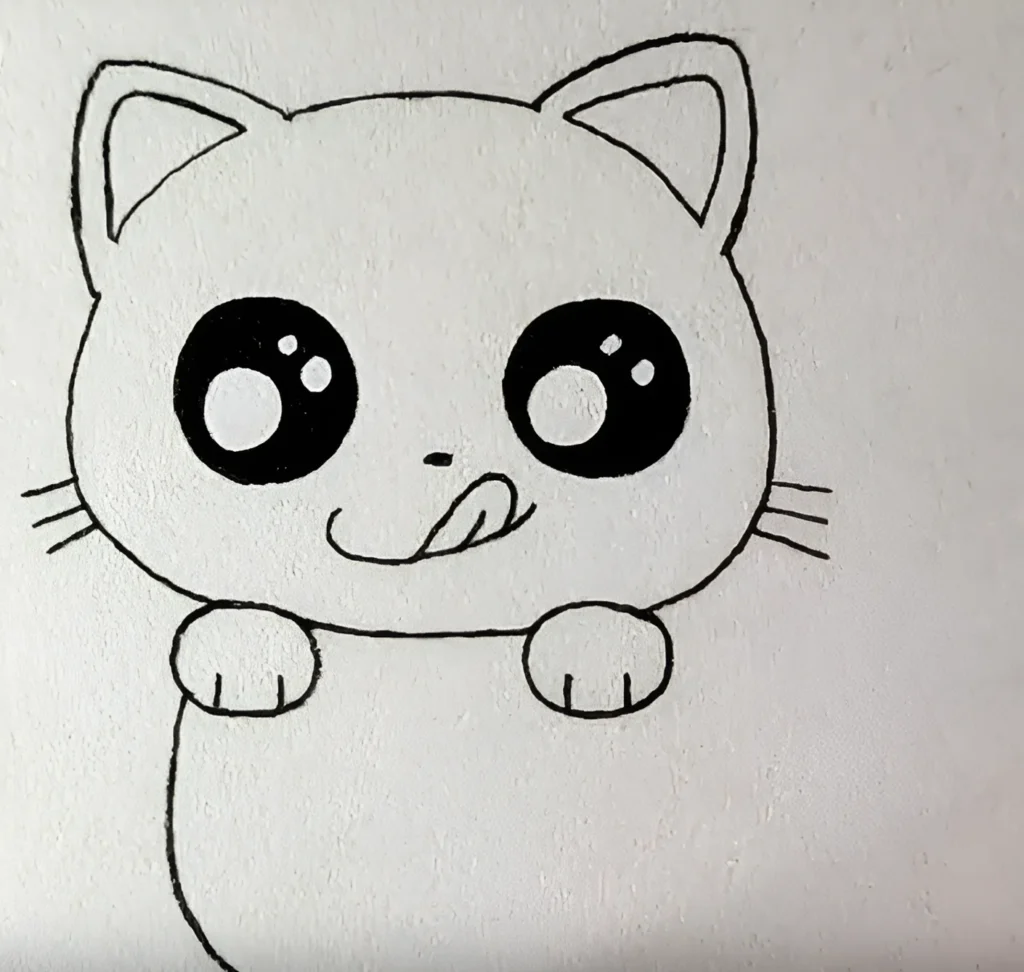
- Nose: Place the nose just below the eyes, centered between them. Sketch a small triangle for the nose.
- Mouth: Under the nose, draw a small curved line to form the mouth. For added charm, draw a tiny curved line inside the mouth to represent the tongue.
Step 8: Creating the Tail
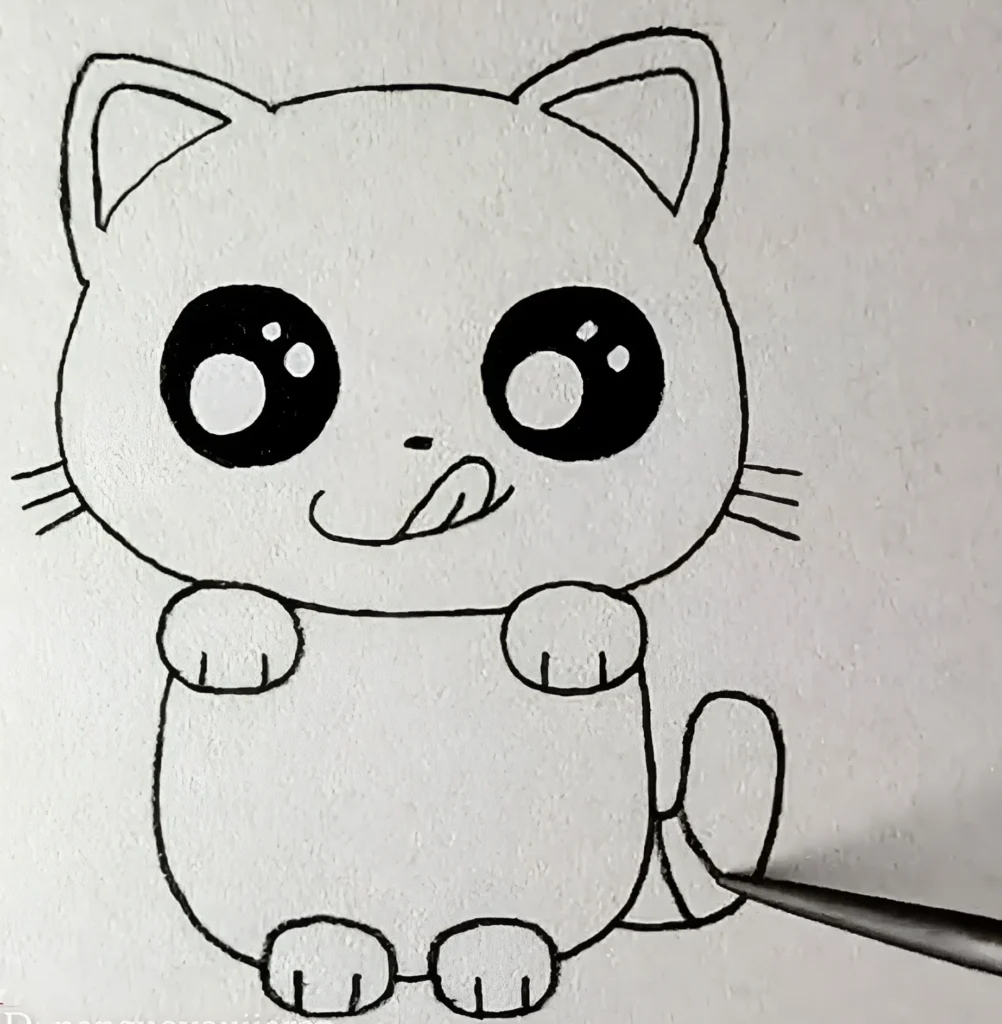
Position the tail at the lower right side of the body. Draw a long, curved line extending outward and slightly upward. Add a few horizontal lines near the tip of the tail to create stripes.
Step 9: Adding Stripes and Final Details
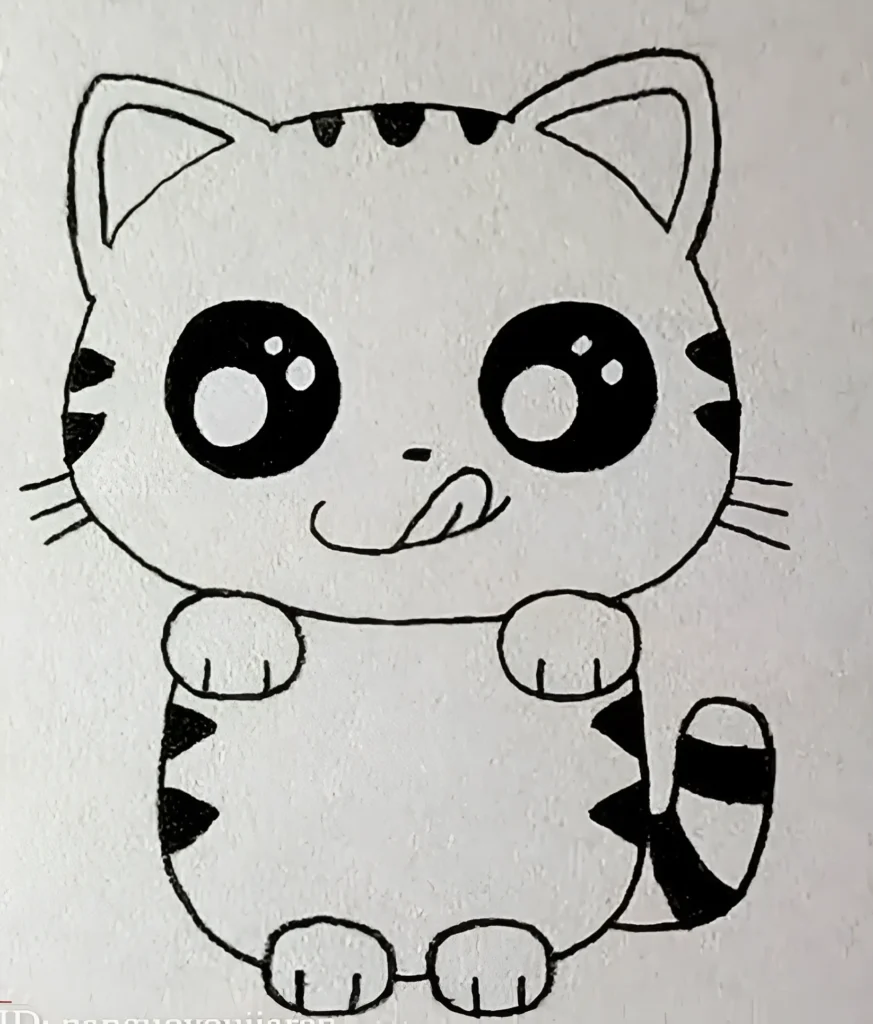
To give your cat a distinctive look, add vertical stripes on the forehead and horizontal stripes across the body. Make sure the stripes follow the natural contours of the cat’s shape for a realistic effect.
Conclusion
Drawing a cat is easier than you think when you follow a step-by-step approach. Practice makes perfect, so don’t be discouraged if your first attempt isn’t flawless. Keep experimenting, and soon you’ll be drawing cats effortlessly.