
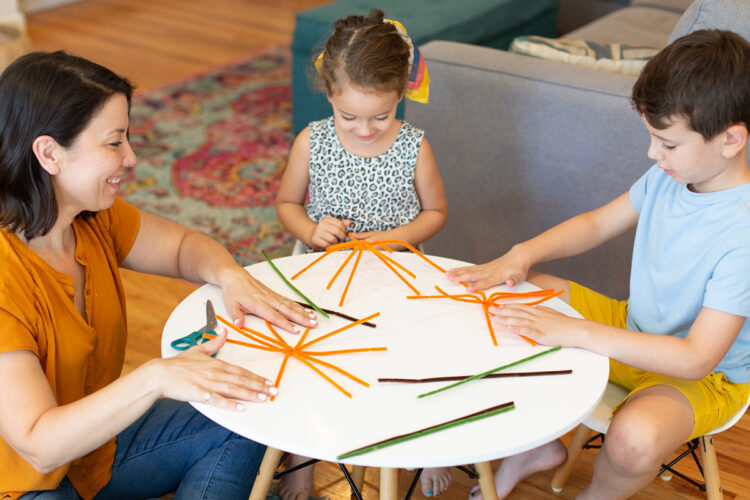
5 Creative Pipe Cleaner Ideas-Fun Crafts for All Ages
Pipe cleaners are a versatile and affordable craft material that can be transformed into endless creative projects. Whether you’re looking for an activity to keep kids entertained or wanting to explore new DIY crafts, pipe cleaners offer a fun and easy medium. From whimsical animals to useful home decorations, the possibilities are boundless. In this …
5 Creative Pipe Cleaner Ideas-Fun Crafts for All AgesRead More
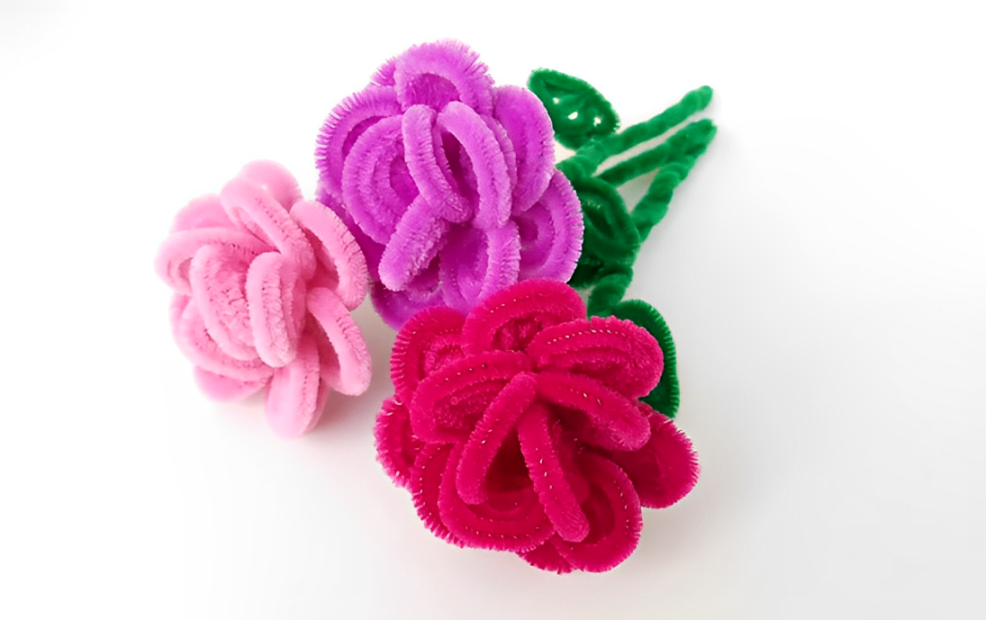
How to Make a Rose Out of Pipe Cleaners
Making a rose out of pipe cleaners is a creative and enjoyable way to add a personal touch to your home decor or gifts. Roses are symbols of love, beauty, and passion, and with pipe cleaners, you can recreate this timeless flower with a fun DIY twist. Not only are pipe cleaners flexible and easy …
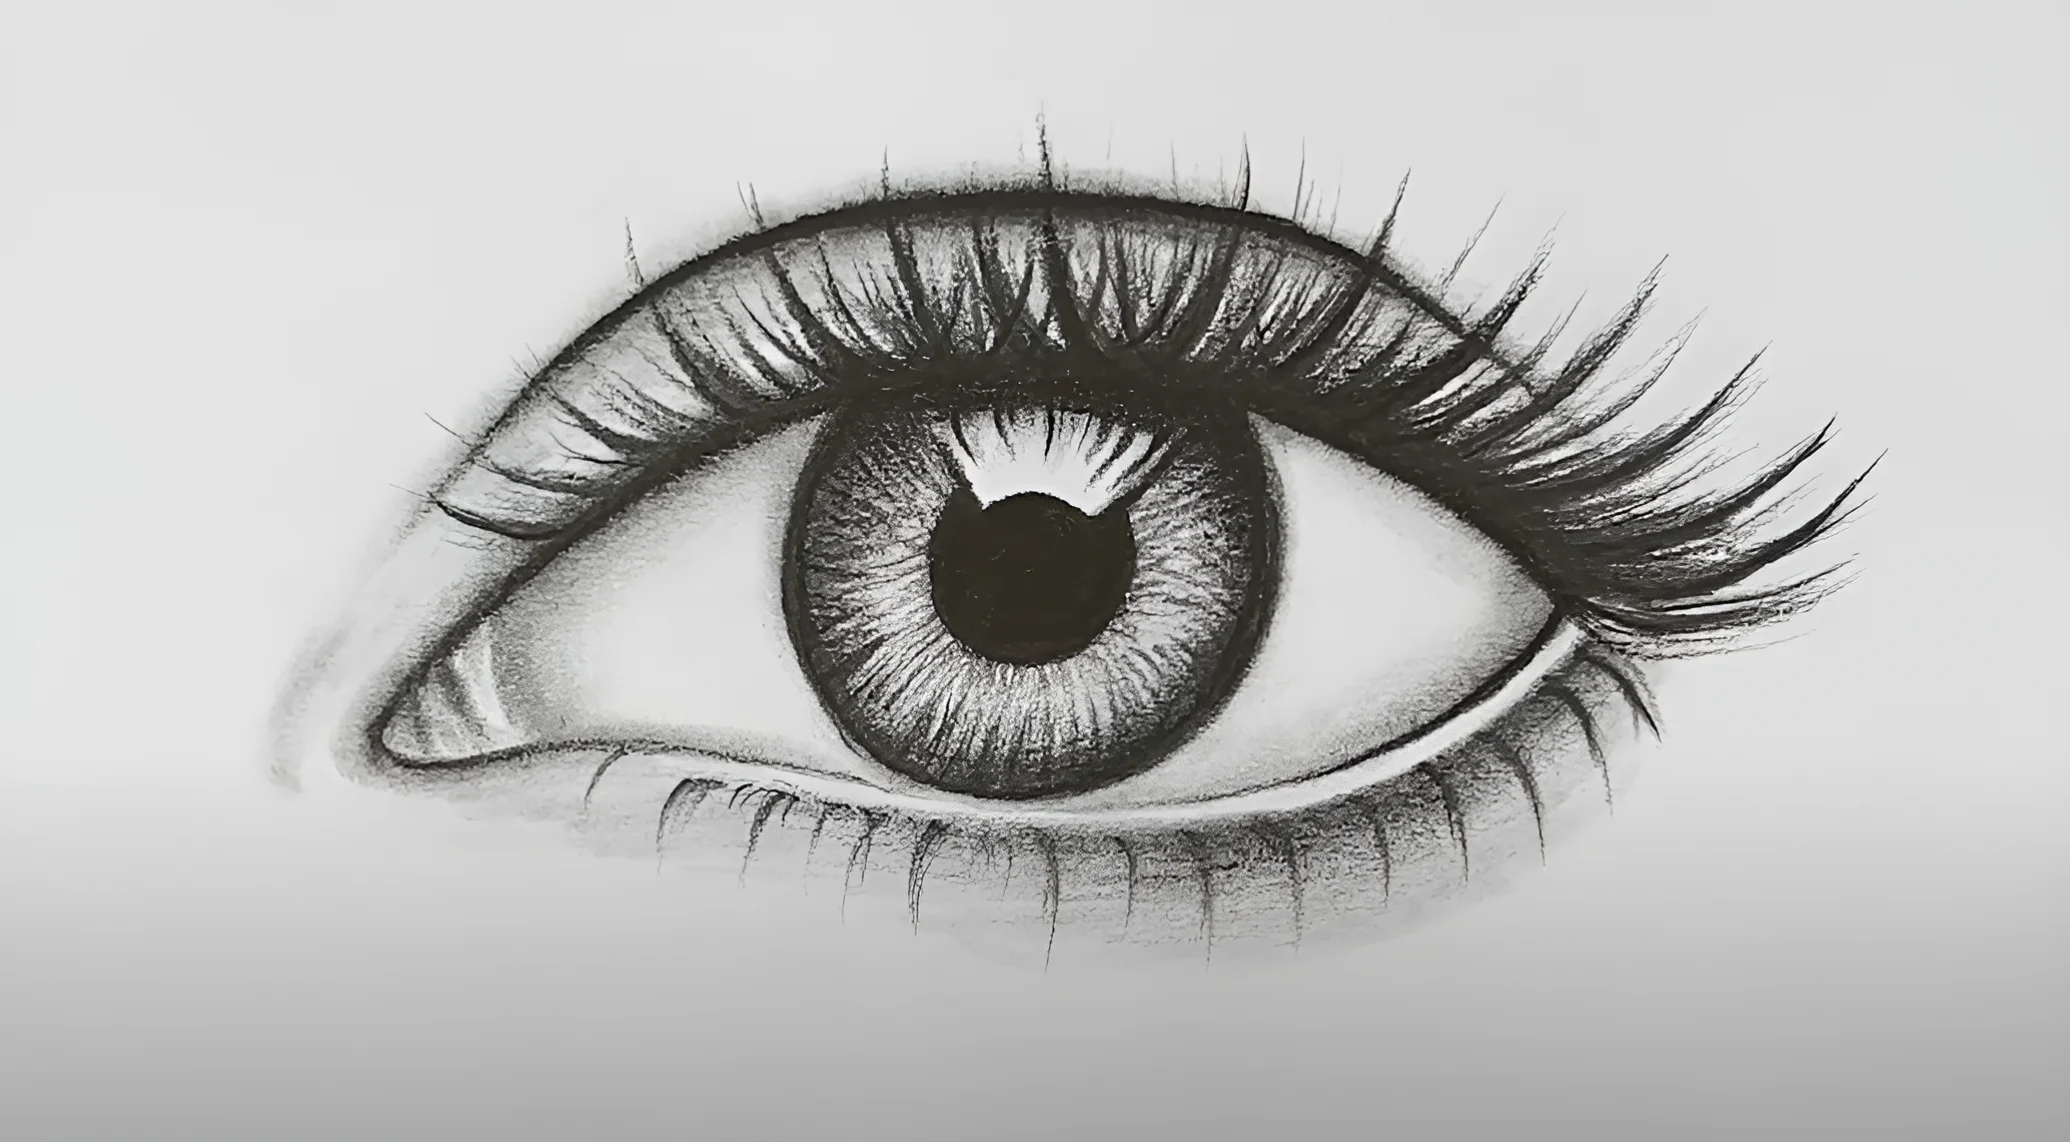
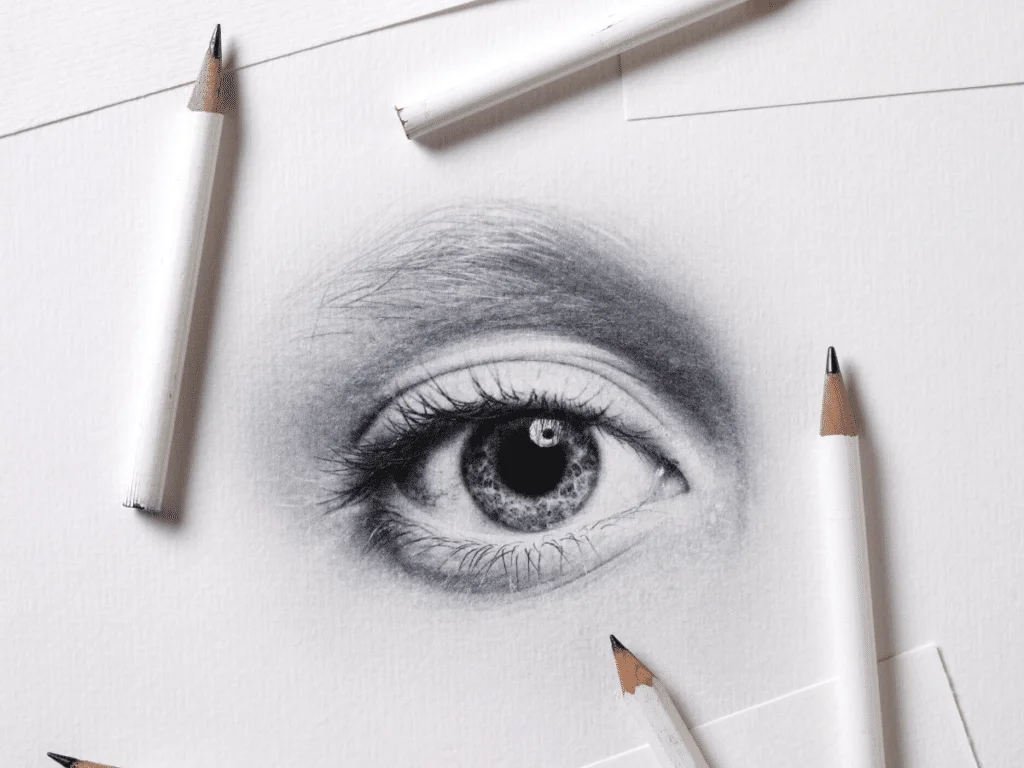
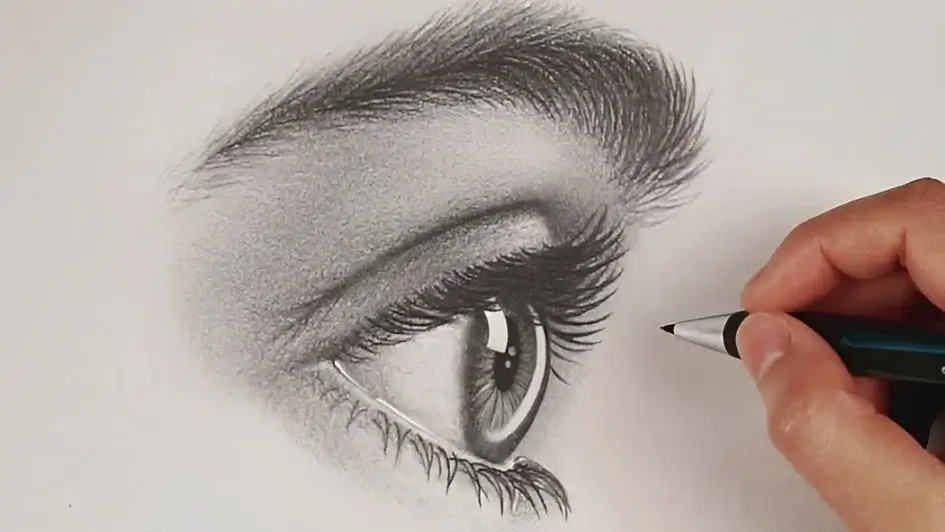
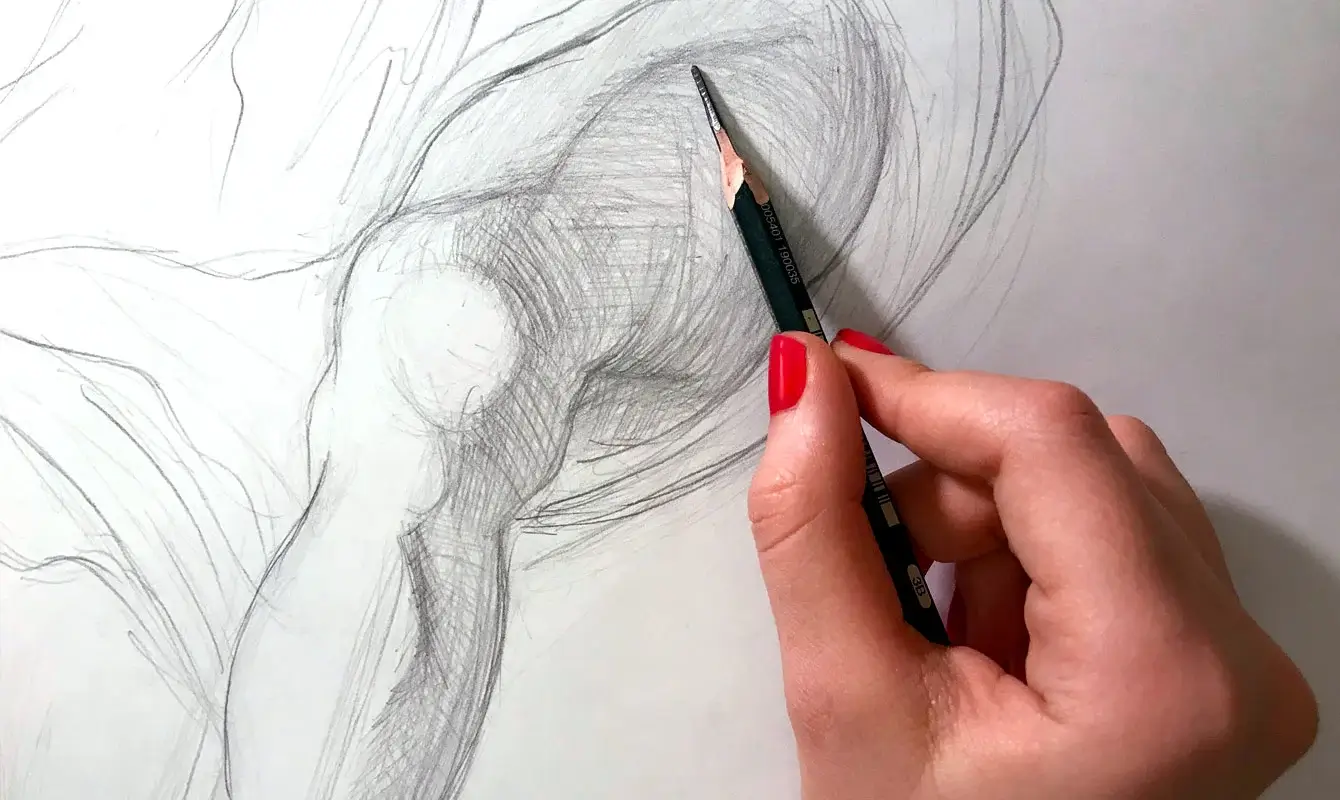
How to Draw an Eye: A Step-by-Step Guide for Beginners
Drawing a realistic eye is one of the most rewarding skills in art, whether you’re a beginner or looking to refine your technique. Eyes are often the focal point of portraits, conveying emotion and life. In this comprehensive guide, we’ll walk you through each step to master drawing an eye, from basic shapes to the …
How to Draw an Eye: A Step-by-Step Guide for BeginnersRead More
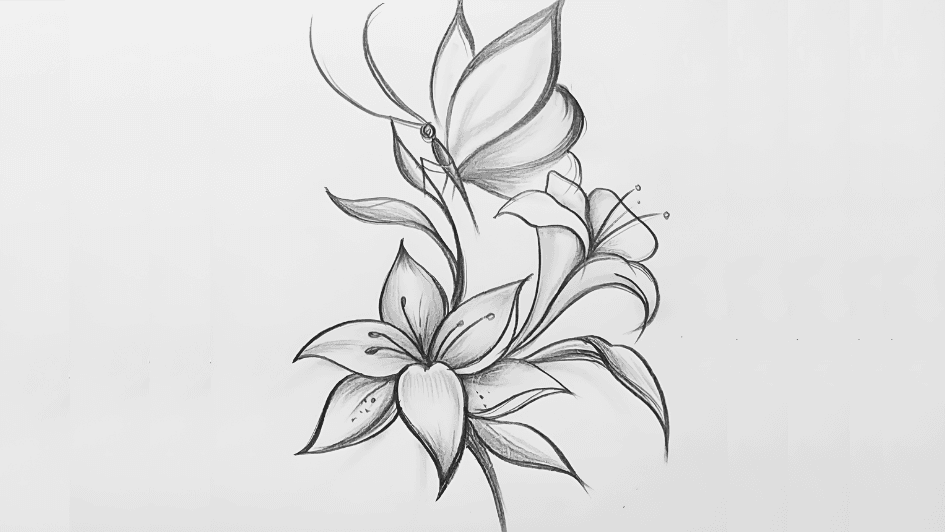
How to Draw a Flower: A Step-by-Step Guide for Beginners
Drawing flowers is one of the most rewarding ways to tap into your artistic side. Whether you’re new to drawing or want to refine your skills, learning how to draw flowers offers a perfect starting point. In this guide, we’ll walk you through the essentials of flower drawing, covering tools, techniques, and tips to help …
How to Draw a Flower: A Step-by-Step Guide for BeginnersRead More
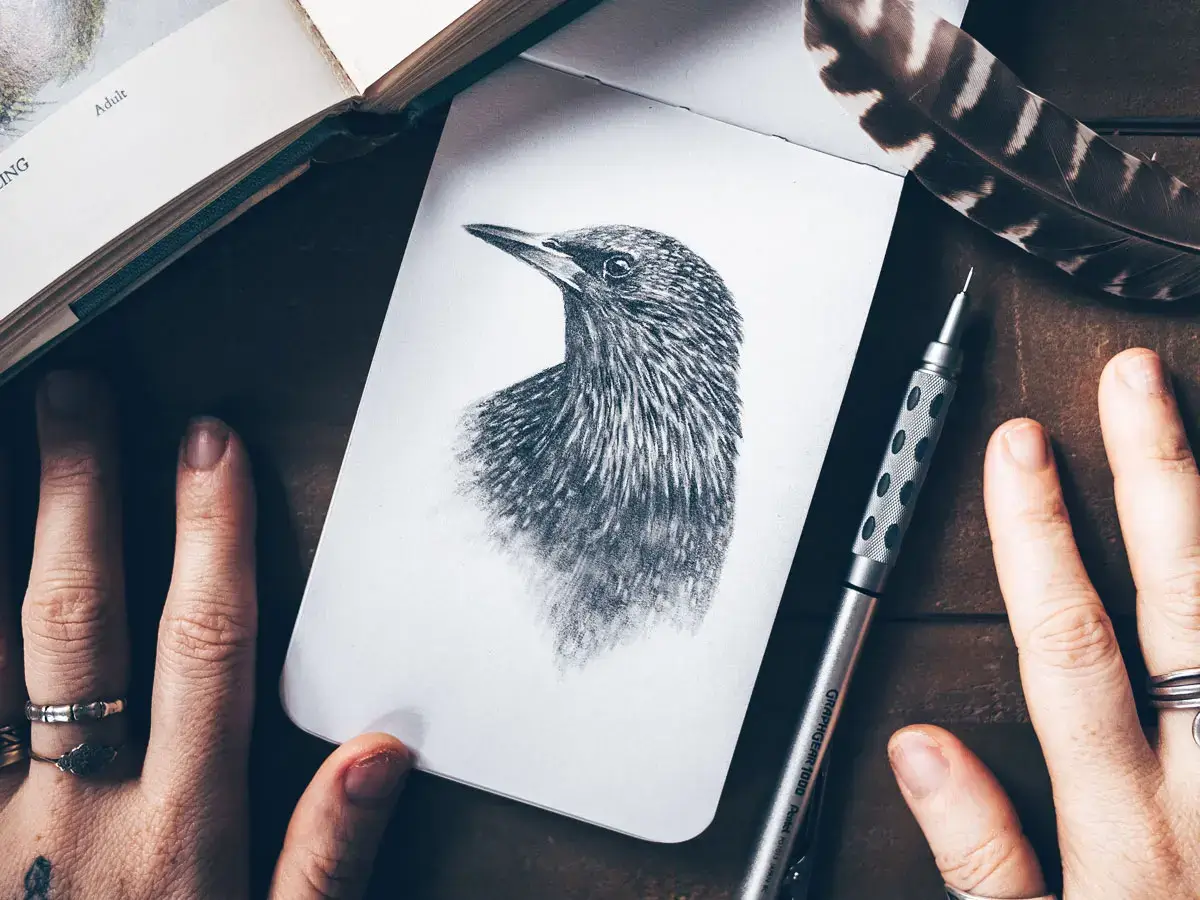
How Long Will It Take to Improve Your Sketching?
Sketching is a rewarding yet challenging pursuit that many people embark on with varying levels of commitment and experience. Whether you’re picking up a pencil for the first time or you’re looking to refine your existing skills, one of the most common questions is: How long will it take to improve your sketching? In this …
How Can I Be Good at Sketching? 7 Simple Steps to Master the Art
Sketching is more than just a hobby; it’s a way to express your creativity, emotions, and ideas through simple lines and shapes. Whether you’re an absolute beginner or someone who wants to take their skills to the next level, the journey to becoming proficient in sketching is enjoyable and rewarding. If you’re wondering how you …
How Can I Be Good at Sketching? 7 Simple Steps to Master the ArtRead More
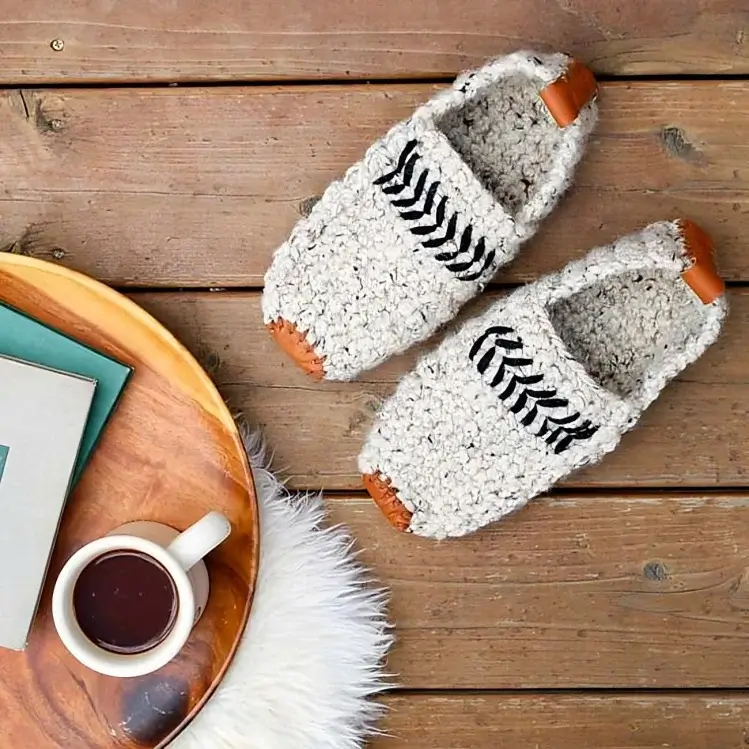
10 Unique Crochet Gifts for Men
Looking for a heartfelt gift that combines style, practicality, and a personal touch? Crochet gifts for men offer the perfect blend of these elements, making them ideal for any occasion. From cozy winter essentials to sleek everyday accessories, there’s a crochet project for every man in your life. Whether you’re an experienced crocheter or just …
6 Essential Tips on How to Improve Your Sketching Skills
Sketching is the backbone of visual art, serving as the starting point for artists of all levels. Whether you’re just beginning your artistic journey or seeking to refine your techniques, mastering sketching is key. In this blog, we’ll explore practical tips and strategies to help you improve your sketching skills. From grasping the basics of …
6 Essential Tips on How to Improve Your Sketching SkillsRead More
10 Essential Sketching Techniques Every Beginner Should Master
Sketching is an art form that unlocks your creativity and helps you capture the world around you. Whether you’re just starting or looking to refine your skills, mastering basic techniques is crucial. In this guide, we’ll explore ten essential sketching techniques designed for beginners. From understanding pencil pressure to experimenting with textures, these techniques will …
10 Essential Sketching Techniques Every Beginner Should MasterRead More

How to Create a Stunning Finger Crocheting Scarf
Finger crocheting is a fun and accessible way to create beautiful scarves without the need for traditional crochet hooks. Using just your fingers, you can craft a stylish, cozy scarf that’s perfect for cooler weather. In this guide, we’ll walk you through the basics of finger crocheting, provide easy instructions for making a scarf, and …
Know Us

At Luwans, we believe in the power of creativity. Our passion lies in providing artists, crafters, and hobbyists with the highest quality materials to bring their ideas to life.
Read More